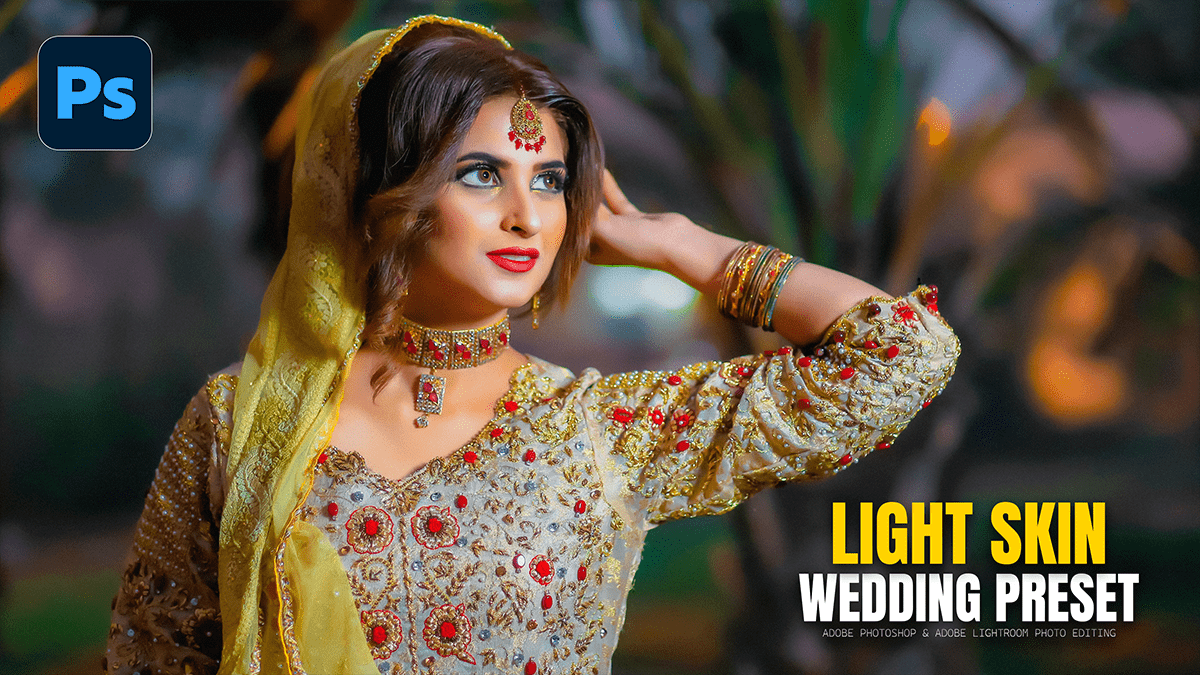
Professional Wedding Photo Retouch & Editing in Photoshop 2026,

Therefore, Professional wedding photo editing requires a balance between efficient batch processing and high-end, detailed retouching for “hero” shots (portraits, ring shots, and key ceremony moments).
In other words, in 2026, the industry standard has shifted toward a hybrid workflow: using AI for volume and Photoshop for craftsmanship.
Professional Wedding Photo Retouch & Editing in Photoshop 2026,
1. The Professional Workflow (2026)
Therefore, Most pros do not edit every photo in Photoshop. Instead, they follow this hierarchy:
Step 1: Culling & Base Edit (Lightroom/Aftershoot): Use AI tools like Imagen or Aftershoot to cull duplicates and apply a consistent color profile across the 2,000+ images.
Method 2: Subject Pop: Therefore, use Lightroom’s Subject Mask to brighten the couple slightly (+0.25 exposure) to separate them from the background.
Step 3: High-End Retouch (Photoshop): In other words, send only the top 10–20 “hero” images to Photoshop for pixel-level work.

Professional Wedding Photo Retouch & Editing in Photoshop 2026,,
2. Essential Photoshop Retouching Techniques:
In other words, when you move a wedding photo into Photoshop, focus on these specific high-impact areas:
Flawless Skin (Frequency Separation)
However, the goal is to remove blemishes without making the skin look “plastic.”
The Technique: Split the image into two layers: one for Texture (High-Frequency) and one for Color/Tone (Low-Frequency).
Action: However, use the Healing Brush on the Texture layer to remove acne or stray hairs, and the Mixer Brush on the Color layer to smooth out blotchy skin tones.
Advanced “Object Removal”
However, Weddings often have distracting elements like exit signs, power lines, or “photobombing” guests.
The Tool: Above all, Use the Remove Tool (AI-powered) or Generative Fill.
Pro Tip: In 2026, you can use a Reference Image with Generative Fill to ensure the “filled” area matches the venue’s lighting and texture.
Professional Wedding Photo Retouch & Editing in Photoshop 2026,
Enhancing Bridal Details:
Eyes & Jewelry: Above all, create a Curves layer, pull the middle up to brighten, invert the mask (Ctrl/Cmd + I), and paint over the eyes and diamonds with a soft white brush at 20% opacity.
The Dress: Use the Selective Color adjustment layer. Target “Whites” and slightly reduce the Yellows/Cyans to keep the dress looking crisp and true-white without losing the lace detail.
Dodge & Burn for Dimension:
Above all, this adds a “three-dimensional” cinematic feel to flat portraits.
In addition, create two Curves layers: one for “Dodge” (brighten) and one for “Burn” (darken).
Above all, Invert both masks to black.
Dodge: Paint over highlights (cheekbones, bridge of the nose, hair catching light).
Burn: Paint over shadows (jawline, deep folds in the suit, edges of the frame).
Premium Presets Free Download 2026,
3. 2026 AI Features to Use:
In addition, Adobe has integrated several “Firefly-powered” tools specifically useful for wedding photographers:
Generative Expand: If a perfect moment was cropped too tightly (e.g., cutting off the bottom of the dress), use this to “build” more of the floor or background.
Lens Blur (AI): If a shot was taken at f/8 but you want a creamy f/1.2 look, use the AI Lens Blur filter to create a natural-looking bokeh.
Harmonize: If you are compositing a couple from one shot into a better background from another, this tool automatically matches the color and light of the two layers.
Professional Wedding Photo Retouch & Editing in Photoshop 2026,
Quick Reference: Pro Shortcuts:
| Task | Tool/Shortcut |
| Open in Camera Raw | Ctrl/Cmd + Shift + A |
| Remove Distractions | Remove Tool (J) |
| Liquify (Fixing Hair/Fit) | Ctrl/Cmd + Shift + X |
| Invert Mask | Ctrl/Cmd + I |
| Stamp Visible Layer | Ctrl/Cmd + Shift + Alt + E |
In conclusion, would you like me to walk through the step-by-step process for a specific technique, like Frequency Separation or Generative Fill?
