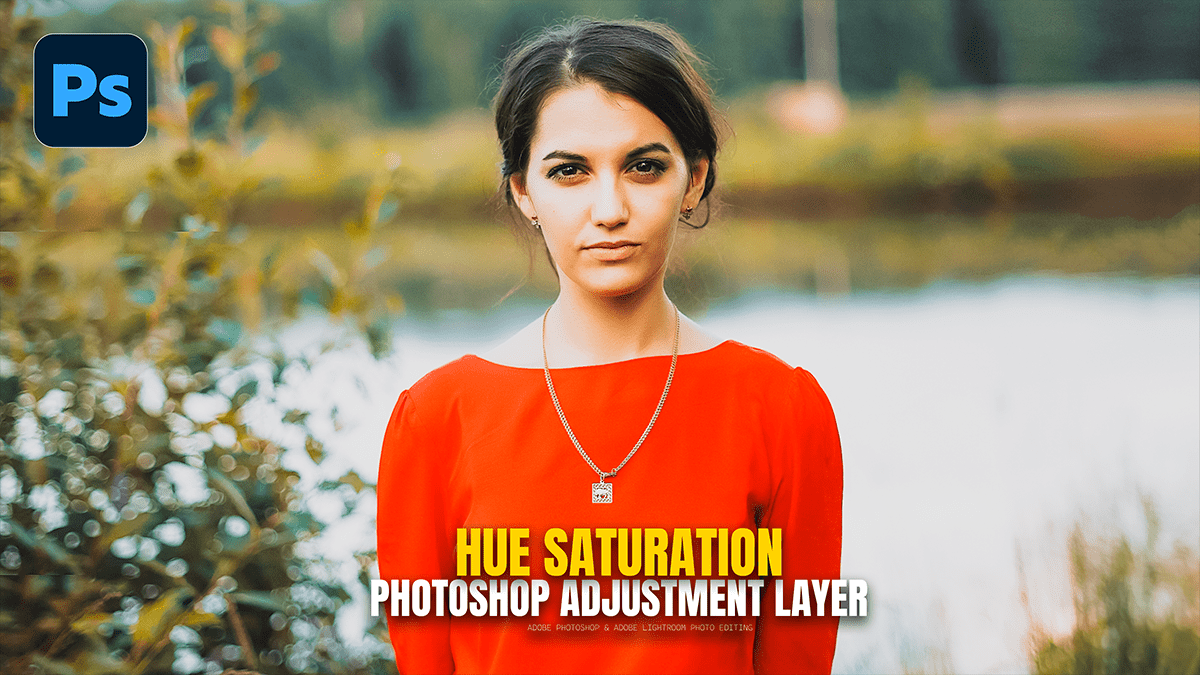
Professional Colour Grading Using Hue Saturation Adjustment,

Therefore, to change color in Photoshop, use a Hue/Saturation Adjustment Layer for non-destructive editing. In addition, go to the Adjustments panel, click the “Hue/Saturation” icon, and move the “Hue” slider. For specific colors, use the on-image hand tool to click and drag over the object.
Professional Colour Grading Using Hue Saturation Adjustment,
In other words, change the color by creating a Hue/Saturation adjustment layer (Layer > New Adjustment Layer > Hue/Saturation) in Photoshop. After that, use the Properties panel to adjust the “Hue” slider, or use the “On-Image Adjustment Tool” (finger icon) to click and drag directly over the color you want to change. In addition, for specific color targets, use the dropdown menu (default is “Master”) to select a color range (e.g., red, blue).
Basic color change methods:
Adjustment layer (recommended): Therefore, go to the Layers panel, click the “Create new fill or adjustment layer” icon, and select “Hue/Saturation”. This allows for non-destructive editing.
On-image adjustment tools: Therefore, in the Properties panel, click the tool icon (with a hand gesture), then click and drag on the image to adjust the color.
Professional Colour Grading Using Hue Saturation Adjustment,
Colorize options: To change the color of a grayscale image or apply a single color to an entire layer, select the “Colorize” checkbox in the Hue/Saturation panel.
Target specific color: In other words, change the “Master” dropdown to a specific color range (e.g., green) to change only that color without affecting the rest of the image.
Keyboard shortcut: However, Press Ctrl+U (Windows) or Cmd+U (Mac) to quickly open the Hue/Saturation panel.
Tips for better results:
Select first: In other words, to change the color of a specific object, first select one of those objects.
Adjust lightness/saturation: However, use the saturation and lightness sliders in addition to the hue slider to refine the color change.
Reset: Above all, Double-click the “Hue” label in the Properties panel to reset it.
হিউ স্যাচুরেশন অ্যাডজাস্টমেন্ট ব্যবহার করে পেশাদার রঙের গ্রেডিং,
ফটোশপে রঙ পরিবর্তন করতে, অ ধ্বংসাত্মক সম্পাদনার জন্য একটি Hue/Saturation Adjustment Layerব্যবহার করুন। Adjustments প্যানেলে যান, “Hue/Saturation” আইকনে ক্লিক করুন এবং “Hue” স্লাইডারটি সরান। নির্দিষ্ট রঙের জন্য, বস্তুর উপর ক্লিক এবং টেনে আনতে অন-ইমেজ হ্যান্ড টুল ব্যবহার করুন।
ফটোশপে একটি হিউ/স্যাচুরেশন) অ্যাডজাস্টমেন্ট লেয়ার (লেয়ার > নতুন অ্যাডজাস্টমেন্ট লেয়ার > হিউ/স্যাচুরেশন)তৈরি করে রঙ পরিবর্তন করুন । “হিউ” স্লাইডারটি সামঞ্জস্য করতে প্রোপার্টিজ প্যানেল ব্যবহার করুন, অথবা “অন-ইমেজ অ্যাডজাস্টমেন্ট টুল” (আঙুলের আইকন) ব্যবহার করে আপনি যে রঙটি পরিবর্তন করতে চান তাতে সরাসরি ক্লিক করুন এবং টেনে আনুন। নির্দিষ্ট রঙের লক্ষ্যবস্তুর জন্য, ড্রপডাউন মেনু (ডিফল্টভাবে “মাস্টার”) ব্যবহার করে একটি রঙের পরিসর নির্বাচন করুন (যেমন, লাল, নীল)।
রঙ পরিবর্তনের মূল পদ্ধতি:
সমন্বয় স্তর (প্রস্তাবিত): স্তর প্যানেলে যান, “নতুন পূরণ বা সমন্বয় স্তর তৈরি করুন” আইকনে ক্লিক করুন এবং “আভা/স্যাচুরেশন” নির্বাচন করুন। এটি অ-ধ্বংসাত্মক সম্পাদনা করার অনুমতি দেয়।
অন-ইমেজ অ্যাডজাস্টমেন্ট টুল: প্রোপার্টিজ প্যানেলে, টুল আইকনে ক্লিক করুন (হাতের ইশারায়), তারপর রঙ সামঞ্জস্য করতে ছবিতে ক্লিক করুন এবং টেনে আনুন।
রঙিন করার বিকল্প: একটি গ্রেস্কেল ছবির রঙ পরিবর্তন করতে অথবা একটি সম্পূর্ণ স্তরে একটি একক রঙ প্রয়োগ করতে, হিউ/স্যাচুরেশন প্যানেলে “রঙিন করুন” চেকবক্সটি নির্বাচন করুন।
লক্ষ্য নির্দিষ্ট রঙ: “মাস্টার” ড্রপডাউনটি একটি নির্দিষ্ট রঙের পরিসরে (যেমন, সবুজ) পরিবর্তন করুন যাতে ছবির বাকি অংশ প্রভাবিত না করে শুধুমাত্র সেই রঙটি পরিবর্তন করা যায়।
কীবোর্ড শর্টকাট: হিউ/স্যাচুরেশন প্যানেলটি দ্রুত খুলতেCtrl+U (উইন্ডোজ) অথবা Cmd+U (ম্যাক) টিপুন ।
হিউ স্যাচুরেশন অ্যাডজাস্টমেন্ট ব্যবহার করে পেশাদার রঙের গ্রেডিং,
ভালো ফলাফলের জন্য টিপস:
প্রথমে নির্বাচন করুন: একটি নির্দিষ্ট বস্তুর রঙ পরিবর্তন করতে, প্রথমে সেই বস্তুর একটি নির্বাচন করুন।
হালকাতা/স্যাচুরেশন সামঞ্জস্য করুন: রঙের পরিবর্তন পরিমার্জন করতে হিউ স্লাইডারের পাশাপাশি স্যাচুরেশন এবং লাইটনেস স্লাইডার ব্যবহার করুন।
রিসেট: প্রোপার্টিজ প্যানেলে “হিউ” লেবেলটি রিসেট করতে ডাবল-ক্লিক করুন ।
