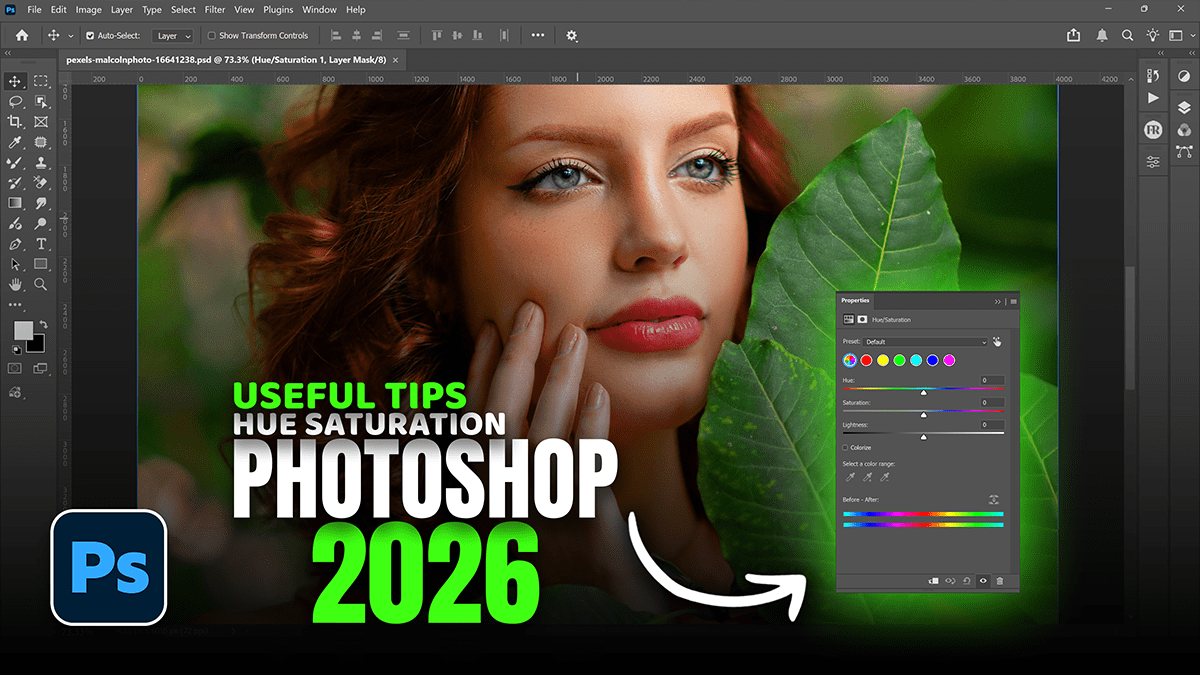
Hue Saturation Most Powerful Adjustments Layer in Photoshop CC,

Therefore, the Hue/Saturation tool is one of the most versatile adjustment layers in Photoshop. It allows you to change the color (Hue), the intensity (Saturation), and the brightness (Lightness) of specific colors or the entire image.
Hue Saturation Most Powerful Adjustments Layer in Photoshop CC,
1. Accessing Hue/Saturation:
Therefore, the best way to use this tool is via an Adjustment Layer. This keeps your edits “non-destructive,” meaning you can go back and change them later without damaging the original pixels.
In other words, open your image in Photoshop.
Therefore, go to the Layers panel.
In other words, click the New Adjustment Layer icon (the half-filled circle at the bottom).
Therefore, Select Hue/Saturation.
2. Understanding the Sliders:
In other words, the Properties panel features three primary sliders that control the “HSB” color model:
Hue Saturation Most Powerful Adjustments Layer in Photoshop CC,
Hue: However, Shifts the overall color of the image along the color wheel. Dragging this can turn a blue sky purple or a green leaf red.
Saturation: Controls the purity of the color. Moving to the right makes colors more vivid; moving to the left makes them more gray (desaturated).
Lightness: However, Adjusts the brightness of the color. Moving it to the far left makes the selection black, and moving it to the far right makes it white.
3. Targeting Specific Colors:
However, one of the most powerful features is the ability to edit only one color range at a time (e.g., changing only the red in a photo without affecting the blue).
Above all, in the Properties panel, look for the dropdown menu that says Master.
However, click it and choose a specific color range, like Reds, Yellows, or Blues.
Above all, now, the sliders will only affect that specific color.
Pro Tip: Use the On-Image Adjustment Tool (the little hand icon with a double arrow). Click it, then click and drag on a specific color in your image to change its saturation directly.
Hue Saturation Most Powerful Adjustments Layer in Photoshop CC,
4. Colorizing an Image:
Above all, if you want to create a monotone or sepia-toned effect:
In addition, check the Colorize box in the bottom right of the Hue/Saturation panel.
Above all, Photoshop will convert the image to a single hue.
In addition, adjust the Hue slider to pick your base color and Saturation to set its intensity.
5. Practical Use Cases:
Changing Clothing Color: Select the specific color of a shirt and shift the Hue slider to “re-dye” it.
Enhancing Skies: Target “Cyans” or “Blues” and increase the Saturation to make a dull sky pop.
Whitening Teeth: Target “Yellows” and move the Saturation slider to the left, then move the Lightness slider to the right.
In conclusion, would you like me to explain how to use a Layer Mask with your Hue/Saturation layer to target even more specific areas?
