Levels Adjustment Layer Photo Editing in Adobe Photoshop 2026

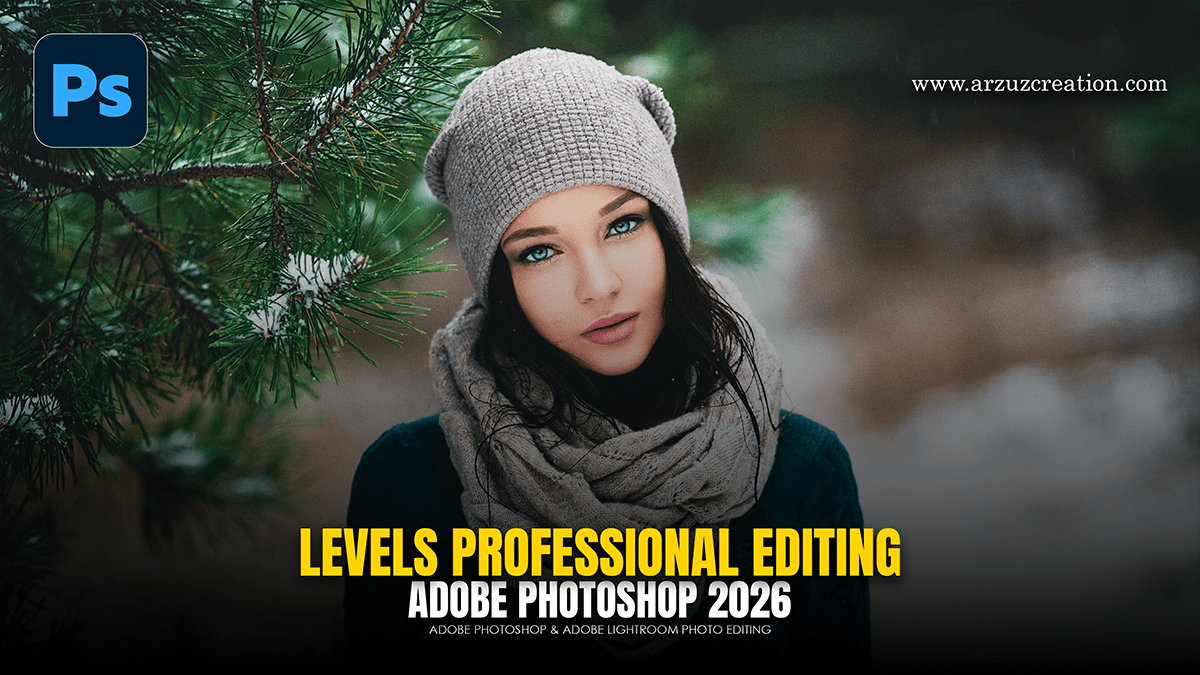
Therefore, using Levels Adjustment Layers for outdoor portraits is one of the most effective ways to balance natural light without degrading your original image pixels. Since outdoor lighting can often be “flat” (overcast) or “harsh” (direct sun), Levels allows you to redistribute the tonal range precisely.
In other words, here is a professional, non-destructive workflow to enhance an outdoor portrait:
Levels Adjustment Layer Photo Editing in Adobe Photoshop 2026
1. Set the Foundation:
Therefore, instead of applying adjustments directly to the image, go to the Adjustments Panel (or the half-moon icon at the bottom of the Layers Panel) and select Levels. This creates a new layer above your photo.
2. Balance the Histogram:
Therefore, in the Properties panel, you’ll see a histogram representing the shadows (left), midtones (center), and highlights (right).
Black Point (Left Slider): In other words, drag this toward the right until it meets the edge of the “mountain” in the histogram. This adds depth to the shadows and hair.
White Point (Right Slider): Drag this toward the left until it reaches the start of the data. This brightens the natural light and ensures the whites (like the catchlights in the eyes) pop.
Midtones (Center Slider): In other words, this is your most important tool for portraits. Moving it slightly to the left will brighten the skin tones without blowing out the highlights.
Levels Adjustment Layer Photo Editing in Adobe Photoshop 2026
3. Targeted Skin Tones (Channel Control)
In other words, If the outdoor lighting has created a color cast (e.g., too much green from grass or blue from the sky), switch the dropdown menu in the Levels panel from RGB to a specific color:
Red Channel: Slightly increase the reds to add warmth to the skin.
Blue Channel: Move the midtone slider to the left to add yellow, counteracting “cold” shadows often found in shaded outdoor shots.
4. Refine with Layer Masks:
Above all, since this is an adjustment layer, it comes with a built-in Layer Mask (the white box next to the Levels icon).
However, select a soft Brush (B).
Above all, set your foreground color to Black.
However, Paint over areas where the adjustment feels too strong—such as highly reflective clothing or bright background elements—to “hide” the effect and keep the focus on the subject’s face.
Levels Adjustment Layer Photo Editing in Adobe Photoshop 2026
Pro Tip: The “Output Levels” Trick:
In other words, if the shadows in your outdoor portrait look too “inky” or crunchy, look at the Output Levels bar at the very bottom of the Levels panel. Drag the Black slider slightly to the right (to a value of about 5–10). This slightly “lifts” the blacks, giving the photo a modern, softer film-like aesthetic that works beautifully with natural light.
Would you like me to walk you through using a Curves layer next to add more specific contrast to the subject?
