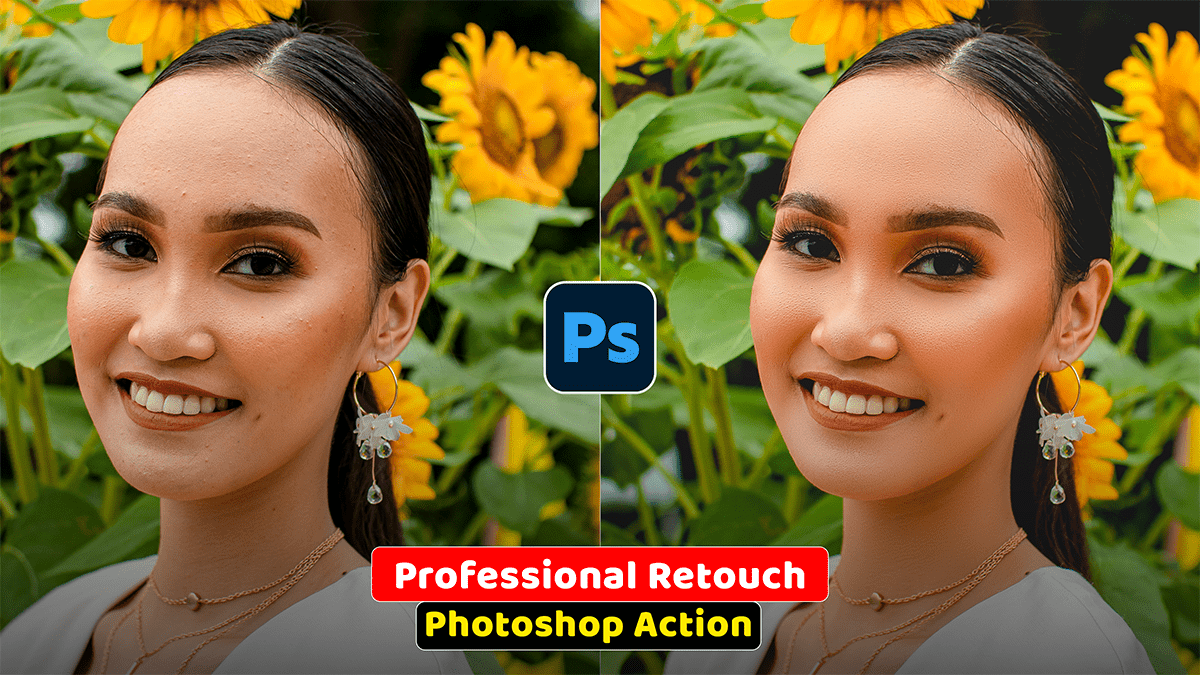
Adobe Photoshop Action: Professional Skin Retouching

Therefore, Professional skin retouching in Adobe Photoshop relies on separating color/tonal data from texture data. This prevents the artificial, plastic look caused by simple blurring filters and keeps pores, natural lines, and fine details fully intact.
However, here is the industry-standard workflow used by high-end portrait and commercial retouchers.
Adobe Photoshop Action: Professional Skin Retouching
Phase 1: Cleaning & Blemishes:
Therefore, before modifying tone or texture, clean up non-permanent spots (pimples, stray hairs, lint, or temporary redness).
Create a Blank Layer: Name it. Blemishes.
Select Tool: Therefore, Pick the Spot Healing Brush Tool (J) or the Remove Tool (AI-powered in newer Photoshop versions).
Configure Options: Therefore, ensure Sample All Layers is enabled in the top options bar.
Clean: Therefore, set your brush slightly larger than the blemish and click to eliminate temporary spots while leaving permanent features (moles, scars, character marks) unless instructed otherwise.
Phase 2: Frequency Separation (High-End Retouching)
Therefore, Frequency Separation splits the photo into two independent layers:
Low Frequency (LF): In other words, Contains tones, colors, shadows, and highlights (no fine detail).
High Frequency (HF): Contains fine skin texture, pores, fine hair, and wrinkles.
Adobe Photoshop Action: Professional Skin Retouching
1. Set Up the Frequency Layers
In other words, select your cleaned image layers and press Ctrl + J (Win) / Cmd + J (Mac) twice to duplicate them.
However, rename the lower duplicate Low Frequency and the upper duplicate High Frequency.
In other words, Group both layers into a folder named Frequency Separation.
2. Prepare Low Frequency (Color & Tone)
However, hide the High Frequency layer (click the eye icon).
In other words, select the Low Frequency layer.
However, Go to Filter > Blur > Gaussian Blur.
For instance, adjust the Radius slider until the fine skin texture just disappears while maintaining overall shapes and shadows (typically 3 to 7 pixels, depending on image resolution). Click OK.
Adobe Photoshop Action: Professional Skin Retouching


3. Prepare High Frequency (Texture)
For instance, turn visibility back on for the High Frequency layer and select it.
Above all, go to Image > Apply Image.
For instance, match these settings based on your image bit depth:
| Image Mode | Layer | Blending | Scale | Offset | Extra Settings |
| 8-bit Image | Low Frequency | Subtract | 2 | 128 | Normal |
| 16-bit Image | Low Frequency | Add | 2 | 0 | Check Invert |
In addition, click OK (the layer will appear grey with visible outlines).
Above all, change the Blending Mode of the High Frequency layer to Linear Light. (The image will now look identical to the original photo, but texture and tone are separated.)
Phase 3: Smoothing Tones & Refining Texture:
Smoothing Transitions (Low Frequency)
Above all, select the Low Frequency layer.
In addition, pick the Mixer Brush Tool (B).
After that, set the Option Bar parameters:
Custom Combination: Wet 20%, Load 30%, Mix 20%, Flow 30%.
In addition, enable Clean the brush after each stroke.
After that, gently paint over areas where skin tones transition roughly (e.g., forehead, cheeks, under-eyes) to smooth out blotchiness without destroying texture.
Adobe Photoshop Action: Professional Skin Retouching
Fixing Fine Texture (High Frequency)
After that, select the High Frequency layer.
Similarly, Select the Clone Stamp Tool (S).
After that, Set Sample to Current Layer.
Similarly, Alt + Click (Win) / Option + Click (Mac) on an area of clean, healthy skin texture nearby, then stamp over enlarged pores or rough skin areas to replace texture seamlessly.
Phase 4: Dodge & Burn (Adding Dimension)
Similarly, Dodge & Burn contours the face by darkening shadows and brightening highlights, adding back depth lost during smoothing.
Non-Destructive Layer: Create a new layer above Frequency Separation. Go to Layer > New > Layer, set Mode to Soft Light, and check Fill with Soft-Light-neutral color (50% gray). Name it D&B.
Dodge Tool (O): Set Range to Midtones and Exposure to 3%–5%. Gently brush over areas you want to highlight (cheekbone tops, nose bridge, chin).
Burn Tool (O): Set Range to Midtones and Exposure to 3%–5%. Gently brush over shadows (jawline, under cheekbones, temples).
Adobe Photoshop Action: Professional Skin Retouching
Pro Rules to Avoid “Over-Retouching”
Always Zoom Out to 100% and 25%: Never edit continuously zoomed in at 200%. Step back frequently to view the portrait as a whole.
Keep Pores Visible: If the skin looks smooth but flat like glass, lower the opacity of your retouching group by 10%–20% to let original textures show through.
Preserve Anatomical Shadow Structures: Avoid flattening the natural shadows under the eyes or around the nose completely, as this alters the subject’s face shape.
