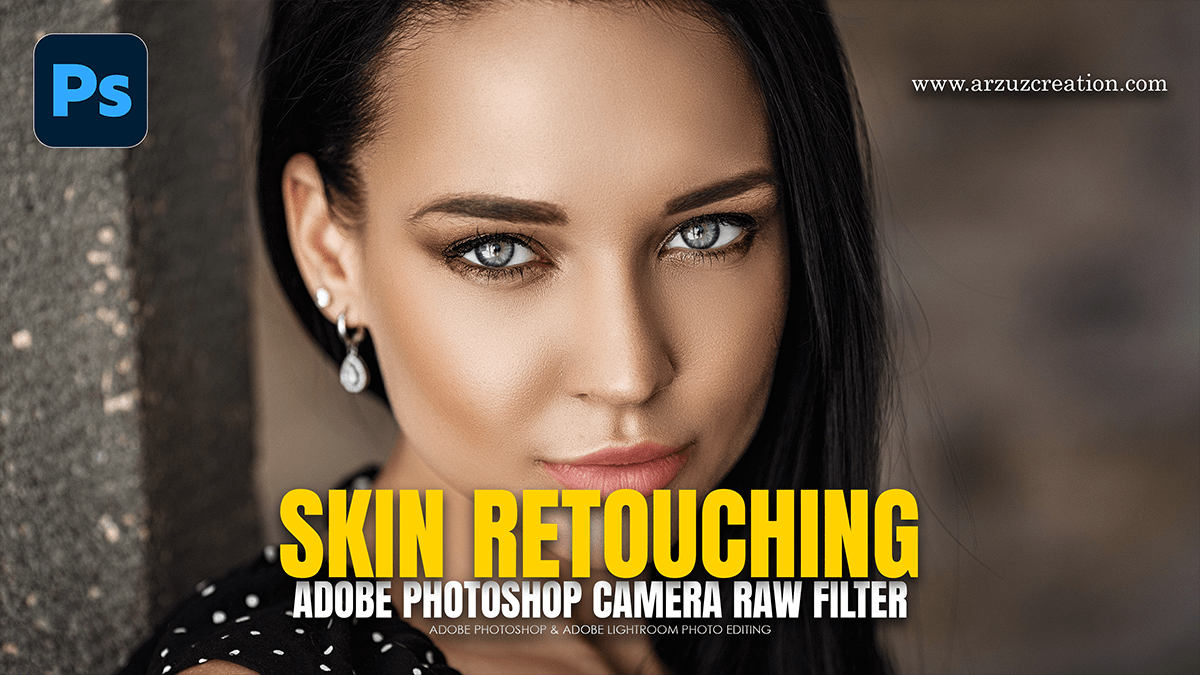
Camera Raw Filter Masking Professional Skin Retouching Tutorial,

Therefore, Retouching skin in Photoshop using the CRF provides a non-destructive way to achieve professional results by leveraging advanced masking tools. In other words, this method allows for targeted adjustments to texture and tone without affecting the entire image.
Camera Raw Filter Masking Professional Skin Retouching Tutorial,
1. Initial Setup:
Therefore, open the desired image in Photoshop.
In other words, right-click the layer and select Convert to Smart Object. This ensures that any changes made in Camera Raw can be adjusted later.
Therefore, Navigate to Filter > Camera Raw Filter.
2. Utilizing Person Masking:
Therefore, Camera Raw features AI-driven masking that automatically detects human subjects and specific features.
In other words, select the Masking icon (circle with a dashed border) from the right-hand toolbar.
Therefore, wait for the AI to detect the person. Click on the person’s thumbnail.
In other words, check the box for Face Skin and Body Skin, then click Create.
Camera Raw Filter Masking Professional Skin Retouching Tutorial,
3. Smoothing and Texture Adjustments:
However, once the skin mask is active, use the following sliders to refine the appearance:
Texture: Move this to the left (negative values) to reduce fine bumps and surface irregularities.
Clarity: A slight decrease helps soften the transitions between highlights and shadows on the skin.
Dehaze: Use sparingly; a small negative value can occasionally help soften “harsh” skin tones, but excessive use may lead to a flat appearance.
Pro Tip: To maintain a natural look, avoid sliding Texture to -100. Aim for a range between -10 and -30 to preserve some skin pores and realistic detail.
4. Color and Tone Balancing:
However, refine the masked area to correct redness or uneven patches:
Saturation/Vibrance: Slightly reduce these if the skin appears overly flushed.
Tint: Move slightly toward green if there is too much redness (magenta).
Shadows/Blacks: Gently lifting these can minimize the appearance of deep wrinkles or dark circles.
Camera Raw Filter Masking Professional Skin Retouching Tutorial,
5. Refining the Mask with Brushes:
However, if the AI mask includes areas like the eyes, lips, or hair, these should be removed to keep them sharp:
Above all, in the Masking panel, click Subtract.
Above all, select the Brush tool.
However, Paint over the eyes, eyebrows, and lips to remove the smoothing effect from those areas.
Summary of Key Settings:
| Adjustment | Typical Range | Effect |
| Texture | -10 to -40 | Reduces fine skin imperfections |
| Clarity | -5 to -15 | Softens larger features/transitions |
| Sharpness | +10 to +20 | Adds “micro-contrast” back to the skin |
| Noise Reduction | +10 to +25 | Smooths out digital grain in the skin |
