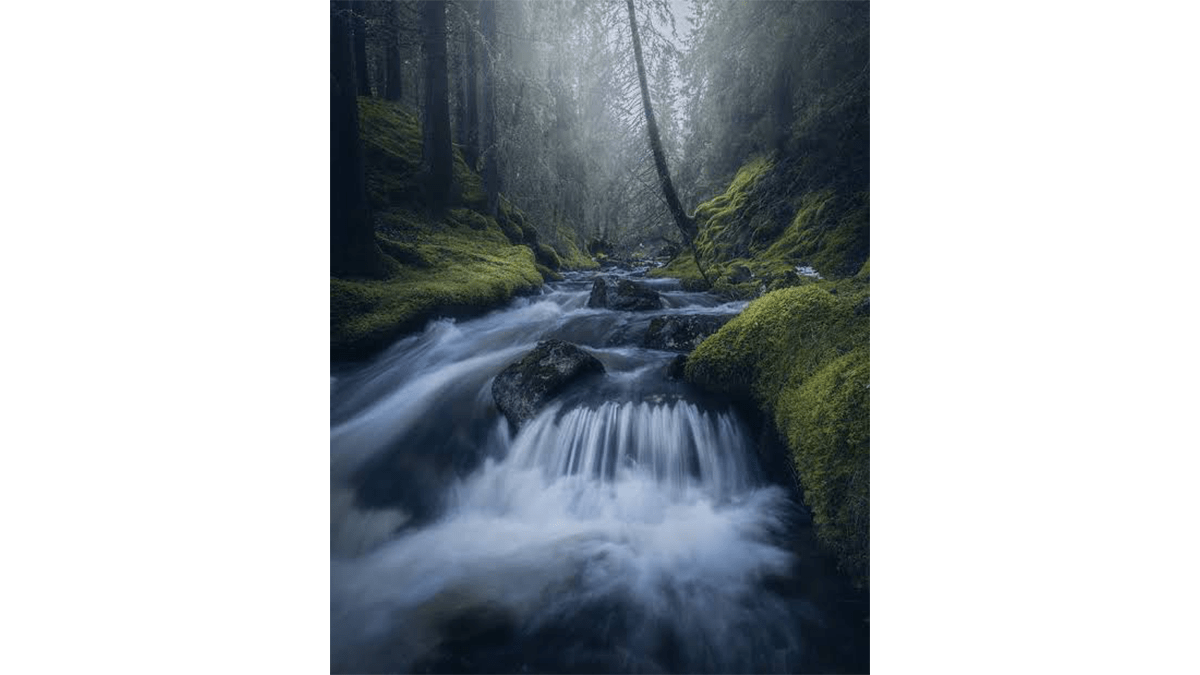
Lightroom Mobile: How to Make a Dreamy Effect in Lr,

Therefore, because the paid version of Lightroom Mobile locks away the advanced Masking brushes, you have to get creative with global adjustments to mimic that ethereal glow.
In other words, the secret lies in a 3-part system: dropping the edge micro-contrast, curving the dark points to fade the shadows, and gently muting the color profile. Here is how to build the preset manually using only the free tools.
Lightroom Mobile: How to Make a Dreamy Effect in Lr,
Step 1: The “Glow” Foundations (Effects Menu)
Therefore, Head straight to the Effects panel first. This is where we break down the harsh, clinical digital sharpness of the phone camera to fake a diffusion lens filter.
- Clarity: Therefore, Pull this down to -15 to -25. Don’t go past -30 or your image will look like a muddy 2012 Photoshop fail. This softens the midtone edges, making light look like it is bleeding smoothly.
- Dehaze: In other words, Drop this down slightly to -5 to -12. This injects a faint, atmospheric fog over the frame.
- Texture: Therefore, Push this up slightly to +5 to +10. Wait, why add texture? When you drop clarity, you lose details. Adding a tiny bit of texture back keeps crucial structures (like eyelashes or hair) crisp while the overall lighting stays soft.
Step 2: Fading the Foundations (Light Menu)
Therefore, Next, navigate to the Light panel. We need to compress the contrast so the image feels airy rather than punchy.
- Contrast: Drop to -15
- Highlights: Drop to -20 (Stops bright skies or windows from clipping aggressively)
- Shadows: Lift to +25 (Opens up the dark areas for a pastel foundation)
- Whites: Lift to +10 (Forces the highest points of light to push outward)
Lightroom Mobile: How to Make a Dreamy Effect in Lr,
The Matte Curve Trick
In other words, while still inside the Light panel, tap on the Curve tool in the top right. We are going to create a classic film “matte” fade to soften the deepest shadows.
       /
      /   <-- 2. Click the center and drag it up slightly to brighten midtones
     /
  .-'     <-- 1. Grab the absolute bottom-left dot and lift it upward
 /
- However, Grab the bottom-left anchor point (the absolute black point) and lift it straight up along the left wall. This clips your deep blacks and turns them into a soft, smoky charcoal grey.
- For instance, Tap the middle of the line to create a point and drag it up a tiny fraction to wash a clean, bright exposure over the middle values.
Lightroom Mobile: How to Make a Dreamy Effect in Lr,
Step 3: Pastel Color Grading (Color Menu)
However, A dreamy photo rarely uses hyper-saturated colors. We want to lean into muted, cohesive pastel tones.
Vibrance: Push up to +10 (This gently shifts flat background colors)
Saturation: Pull down to -10 (This acts as a master brake, stopping individual colors from bleeding over the screen)
Temp / Tint: If your photo was taken during the day, pull the Temp slider a fraction to the right (+4) to mimic a warm, nostalgic sun-kissed morning.
Step 4: The Final Polish (Detail Menu)
For instance, to finish off the analog look, scroll over to the Detail panel.
- Grain: Set to 15
- Size: Set to 25
For instance, adding a small hint of grain gives the illusion of a vintage film scan, which keeps the image from looking “blurry” from the negative clarity adjustments and instead makes it look intentionally artistic.
Save it for later: Once you dial these sliders in perfectly, tap the three dots (…) in the top right corner of the app and select Create Preset. Name it “Dreamy Glow” so you can slap it onto any future photo with a single click.
