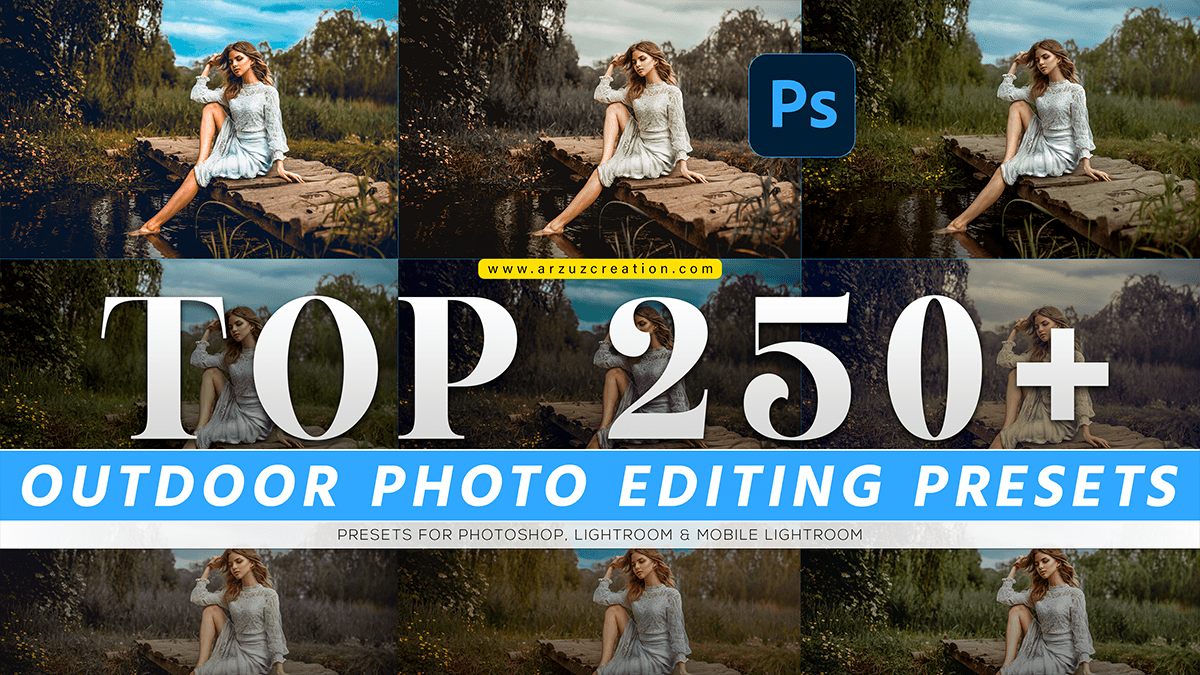
Outdoor photo editing camera raw presets, Adobe Photoshop Camera Raw Filter.

Hello everyone,
In this Photoshop tutorial, I will show you, How to use Outdoor photo editing camera raw presets in Photoshop.
I do not have the capability to provide you with specific camera raw presets for outdoor photo editing. However, I can suggest some general tips for editing outdoor photos in Adobe Camera Raw:
Adjust white balance: the first step is to ensure that the colors in your photo are accurate. Use the white balance tool to adjust the temperature and tint until the photo looks natural.
Adjust exposure and contrast: use the exposure and contrast sliders to adjust the overall brightness and contrast of the photo. Be careful not to overdo it, as this can lead to a loss of detail and a lack of natural-looking shadows and highlights.
Adjust highlights and shadows: use the highlights and shadows sliders to adjust the brightness and darkness of the brightest and darkest areas of the photo, respectively. This can help to bring out details in both the shadows and highlights.
Photoshop Editing, Outdoor Photo Editing,
Adjust clarity and dehaze: use the clarity and dehaze sliders to adjust the overall sharpness and clarity of the photo. The clarity slider can help to bring out details in the midtones, while the dehaze slider can help to reduce haze and improve the overall clarity of the photo.
Click the presets button below to download the Photoshop preset file 📂
Adjust saturation and vibrance: use the saturation and vibrance sliders to adjust the overall color intensity of the photo. The saturation slider affects all colors equally, while the vibrance slider affects the less-saturated colors more.
Adjust noise reduction: use the noise reduction tool to reduce any unwanted noise or graininess in the photo. Be careful not to overdo it, as this can lead to loss of detail and a lack of natural-looking texture.
Now watch this video 📹 tutorial and click on the video tutorial button to learn the work,
Use lens correction: use the lens correction tool to correct any distortion, vignetting, or chromatic aberration caused by the lens used to take the photo.
Remember, the key to editing outdoor photos is to make adjustments that enhance the natural beauty of the scene, rather than completely transforming it. Use these tips as a starting point, and experiment with different settings to find what works best for your specific photo.
