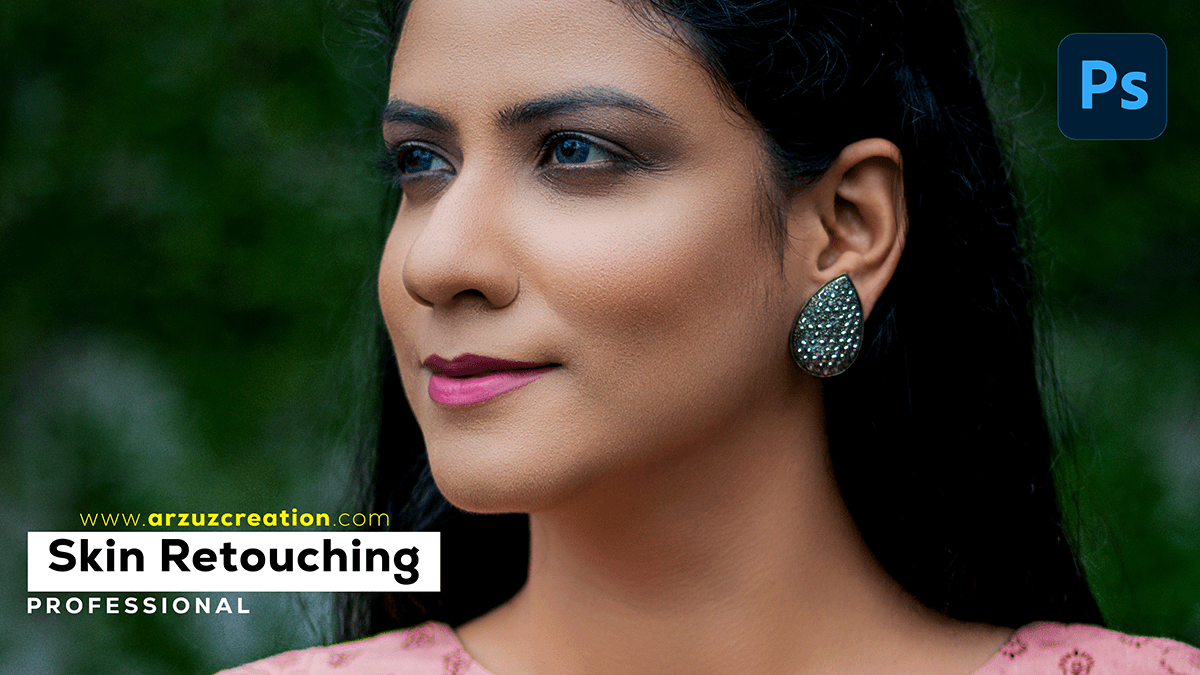
Professional photo retouch Photoshop, How to skin retouching in Photoshop. Step by step you learn, the skin retouching technique. Photoshop actions are free to download.
Therefore, In this Photoshop tutorial, you learn, How to Beauty skin retouch in Photoshop 2024.

Professional Photo Retouch Photoshop,
Photoshop Patch Tool:- The purpose of the Photoshop Patch Tool is to help eliminate spots, marks, distractions, and blemishes in images. In other words, It is part of the healing brush set of tools and is primarily used to repair larger areas of an image or remove unwanted elements.
However, To use the Patch Tool, you select a part of the image that you want to replace, then drag the selection to an area with matching detail to cover the part you want to remove (Source) or to copy the selected pixels to another part of the image (Destination).
Photoshop Remove Tool:-
For instance, To remove an object or background from an image using Photoshop, you can use the Spot Healing Brush Tool or the Content-Aware Fill feature. Here’s a simple guide on using the Content-Aware Fill method:-
Above all, Open your image in Adobe Photoshop.
In addition, Please select the area you want to remove by creating a rough selection around it. You can use the Quick Selection Tool, Lasso Tool, or any other selection tool available.
Professional Photo Retouch Photoshop,
Press ‘Shift + F5’ to open the ‘Fill’ dialog box. Alternatively, you can go to ‘Edit’ in the top menu, then ‘Fill’.
Choose ‘Content-Aware’ from the ‘Use’ drop-down menu in the’ Fill’ dialog box.
Click ‘OK’ to let Photoshop analyze the surrounding area and fill the selected region with new content.
Remember to save your work after completing the process. These steps will help you remove the desired object or background from your image with minimal effort.
Photoshop Action Skin Retouching:-
After that, To use the Photoshop Action Skin Retouching tool to remove imperfections from photos, you can access the Discover Panel in Photoshop and navigate to Browse > Quick Actions. From there, select Smooth skin. Additionally, you can use the Spot Healing Brush tool to quickly remove blemishes and imperfections from the skin in your photos.
Photoshop Curves:-
In Photoshop, the Curves tool is a powerful feature that allows you to adjust the tonal range and contrast of your image. Here’s a simple guide to using the Curves tool:
Open your image in Adobe Photoshop.
Go to the ‘Image’ menu at the top and select ‘Adjustments’. Then, choose ‘Curves’ from the dropdown list. Alternatively, you can press ‘Ctrl + M’ (Windows) or ‘Command + M’ (Mac) to open the Curves adjustment dialog box directly.
You will see a graph representing the tonal values of your image. The horizontal axis represents the input levels (dark to light), while the vertical axis represents the output levels.
Click here to download this preset file,
Similarly, To adjust the contrast, locate the straight line in the graph and click on it. Then, drag the line up or down to increase or decrease the contrast of your image. Be cautious not to overdo it, as this may lead to an unnatural appearance.
To adjust the brightness and darkness of specific tones, locate the points where the line intersects the axes. For example, if you want to make the shadows darker, find the point where the line intersects the horizontal axis on the left side and drag it upwards.
Camera Raw Presets Free Download, Professional Photo Retouch Photoshop,
Once you’re satisfied with the adjustments, click ‘OK’ to apply the changes to your image.
Remember to save your work after completing the process. Experiment with the Curves tool to achieve the desired results, and don’t hesitate to revert the changes if needed.
Photoshop Levels:-
The Level adjustment in Photoshop is another useful tool for adjusting the tonal range and contrast of your images. Here’s a simple guide on using the Level adjustment:
Open your image in Adobe Photoshop.
Go to the ‘Image’ menu at the top and select ‘Adjustments’. Then, choose ‘Levels’ from the dropdown list. Alternatively, you can press ‘Ctrl + L’ (Windows) or ‘Command + L’ (Mac) to open the Levels adjustment dialog box directly.
Click here to watch this video tutorial,
In the Levels dialog box, you’ll see a histogram representing the tonal distribution of your image. The three sliders below the histogram control the shadows (black), mid-tones (gray), and highlights (white).
Adjust the overall brightness of your image, and move the gray (mid-tone) slider to the right or left. This will lighten or darken the mid-tones, respectively.
Adobe Illustrator Tutorial For Beginners,
To adjust the shadows (dark areas), move the black slider towards the right until you see a hint of the white clipping (highlighted area) in the histogram. This ensures that details in the shadows are not lost.
Learn, Professional Photo Editing,
To adjust the highlights (bright areas), move the white slider towards the left until you see a hint of the black clipping (highlighted area) in the histogram. This ensures that details in the highlights are not lost.
Once you’re satisfied with the adjustments, click ‘OK’ to apply the changes to your image.
Adobe Lightroom Tutorial,
Remember to save your work after completing the process. Experiment with the Level adjustment to achieve the desired results, and don’t hesitate to revert the changes if needed.
