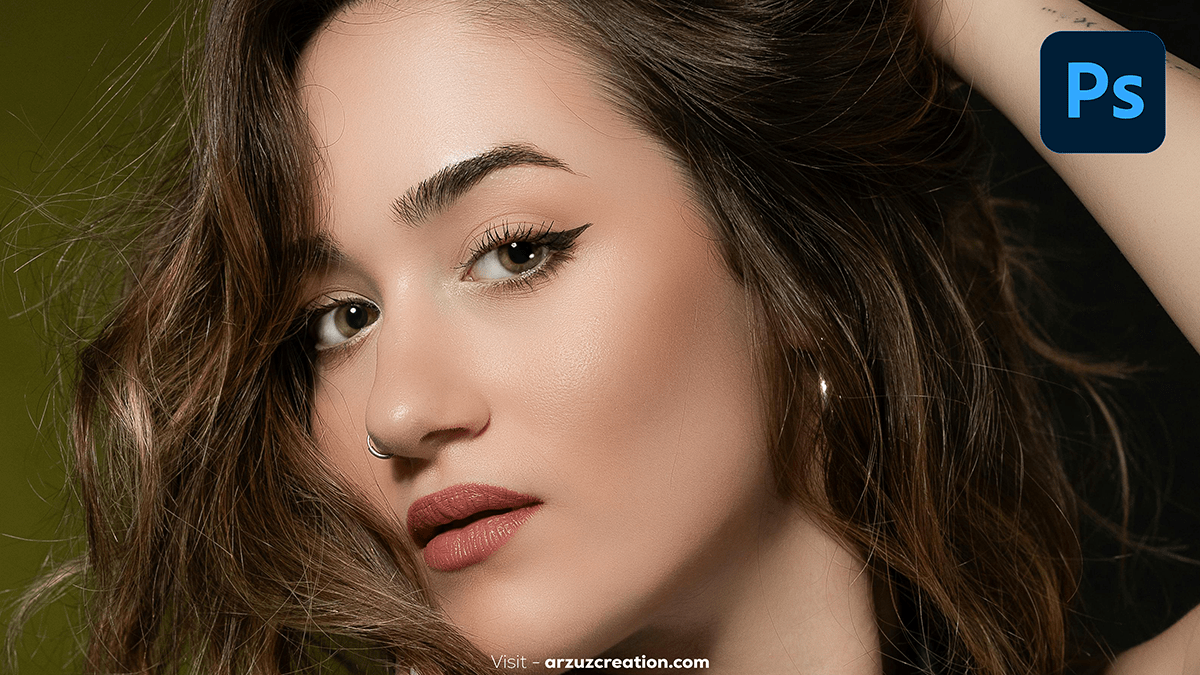
Easy Tips For Retouching Skin and Removing Acne in Photoshop,

Therefore, Here are some easy tips for retouching skin and removing acne in Photoshop:
Duplicate the Layer:
- In other words, Always start by duplicating the original image layer (
Ctrl + JorCmd + J). This allows you to work non-destructively, preserving the original image.
Easy Tips For Retouching Skin, Use the Spot Healing Brush Tool:
- However, Select the Spot Healing Brush Tool from the toolbar (
Jshortcut). - For instance, Set the brush size slightly larger than the blemish or acne spot.
- Above all, Simply click on the spot, and Photoshop will blend the area with the surrounding skin.
Apply the Healing Brush Tool for Complex Areas:
- In addition, For more complex areas, use the Healing Brush Tool (also under the
Jshortcut). - After that, Alt-click (
Option-clickon Mac) to sample a clean area near the blemish, then paint over the problem area.
Easy Tips For Retouching Skin and Removing Acne in Photoshop,

Use Frequency Separation:
- Frequency Separation is an advanced technique that separates the skin texture from the color/tone.
- Steps:
- Therefore, Duplicate your layer twice.
- Name the first duplicate “Low Frequency” and the second “High Frequency.”
- Select the Low-Frequency layer, then go to
Filter > Blur > Gaussian Blur. Apply a blur just enough to remove the skin texture. - Select the High-Frequency layer, then go to
Image > Apply Image. Set the Layer to the Low Frequency layer, chooseSubtractthe blending mode, set the Scale to 2, and Offset to 128. - Set the High-Frequency layer’s blending mode to Linear Light.
- Use the Healing Brush Tool on the High-Frequency layer for texture, and use the Lasso Tool with a slight blur on the Low-Frequency layer to smooth out tones.
Soften Skin with the Blur Tool:
- Select the Blur Tool from the toolbar.
- Set the Strength to around 10-20% to maintain a natural look.
- Gently brush over areas where the skin appears uneven or rough.
Easy Tips For Retouching Skin, Dodge, and Burn for Highlighting and Shading:
- Use the Dodge Tool to lighten areas and the Burn Tool to darken them, enhancing the skin’s natural contours.
- Work on a separate layer set to Soft Light or Overlay to maintain flexibility.
Use Adjustment Layers for Final Touches:
- Apply a Hue/Saturation or Selective Color adjustment layer to fine-tune the skin tone.
- Use the Curves or Levels adjustment layer to add contrast and depth to the image.
These techniques will help you achieve a polished, professional look while keeping the skin texture intact for a natural appearance.
