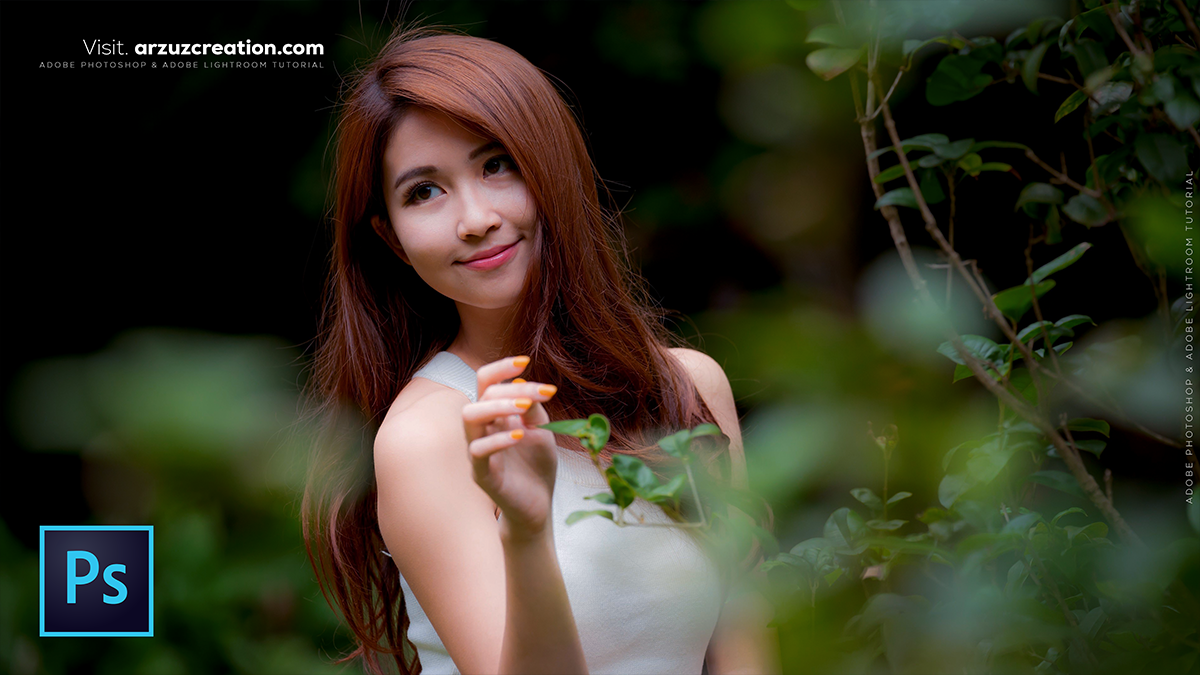
Adobe Photoshop: Editing Outdoor Portrait Photos Tutorial 2025,
Therefore, editing outdoor portraits in Photoshop is all about balancing the unpredictable nature of outdoor light with the specific needs of your subject. Whether you’re dealing with harsh midday sun or the soft glow of the golden hour, a structured workflow is key.

Therefore, here is a professional workflow for editing outdoor portraits in 2025.
Adobe Photoshop: Editing Outdoor Portrait Photos Tutorial 2025
1. Raw Processing (Camera Raw Filter)
Therefore, before you touch any pixels, start with the Camera Raw Filter (Ctrl/Cmd + Shift + A). Outdoor shots often need global corrections:
- White Balance: Warm up golden hour shots or cool down shadows.
- Shadows/Highlights: Lift the shadows to reveal detail in hair and lower highlights to save detail in the sky or bright clothing.
- Texture & Clarity: Add a touch of “Texture” for detail, but avoid high “Clarity” on skin as it can look gritty.
2. Clean-Up and Retouching
Therefore, once back in the main interface, create a new layer for non-destructive healing.
- Spot Healing Brush: Best for removing stray hairs, blemishes, or sensor dust.
- Patch Tool: Perfect for larger areas like under-eye bags or distracting background elements (e.g., a trash can or a bright leaf).
- Generative Fill: However, if there are complex distractions in the background (like people or cars), use the Lasso tool and hit Generative Fill to seamlessly remove them.
Adobe Photoshop: Editing Outdoor Portrait Photos Tutorial 2025
3. Advanced Light Shaping (Dodge & Burn)
In other words, this technique adds dimension that flat outdoor lighting sometimes lacks.
- The Pro Way: Create two Curves adjustment layers. Pull one curve up (Brighten) and one down (Darken). Invert their masks to black (
Ctrl/Cmd + I). - The Action: However, use a soft white brush at 1–3% Flow to paint light back onto the cheekbones and bridge of the nose, and paint shadows into the jawline and hair.
4. Color Grading for Outdoor Tones
In other words, Outdoor photos usually benefit from a specific “mood” or color palette:
- Color Lookup (LUTs): However, A quick way to get a cinematic look. Try “Crisp_Warm” or “FallColors” at 20-30% opacity.
- Selective Color: Use this to target the greens in the grass or trees. Switch to “Greens” or “Yellows” and adjust the Cyan/Magenta sliders to make the foliage look lush or more autumnal.
- Curves (Individual Channels): However, go to the Blue channel and pull the bottom point slightly up to add a subtle blue/teal tint to the shadows—this provides a beautiful contrast to warm skin tones.
Adobe Photoshop: Editing Outdoor Portrait Photos Tutorial 2025
5. Finishing Touches
- Radial Gradient (The “Sunlight” Hack): In other words, create a new layer, select a warm orange/yellow color, and use a large, soft brush to paint a “glow” coming from the corner where the sun was. Set the blend mode to Screen or Linear Dodge and lower the opacity.
- Sharpening: However, use High Pass Sharpening (Filter > Other > High Pass) on a merged layer. Set it to a low radius (1.5–2.0) and change the blend mode to Overlay.
Comparison of Key Tools
| Tool | Best For… | Pro Tip |
| Object Selection | Isolating the subject | Use “Select Subject” then “Invert” to edit only the background. |
| Liquify | Fixing hair or clothing | Use the “Freeze Mask” to protect the face while adjusting hair volume. |
| Neural Filters | Skin smoothing | Use “Skin Smoothing” filter at low intensity for a natural, non-plastic look. |
Would you like me to walk you through a specific style, like a “Moody/Dark” look or a “Dreamy/Bright” aesthetic?
