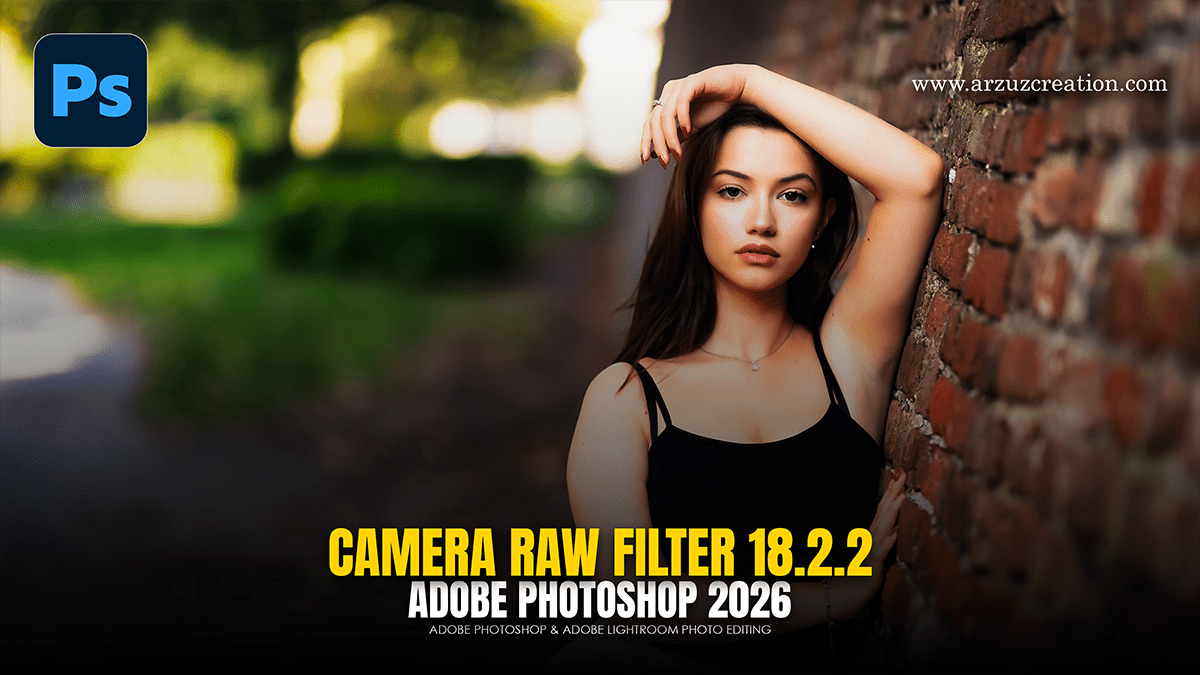
Adobe Photoshop 2026: Camera Raw Filter 18.2.2,

Therefore, Professional color grading in the Camera Raw Filter (CRF) is where a photo transforms from a standard capture into a cinematic or stylized piece of art. To achieve a high-end look, the secret lies in balancing technical correction with creative “mood” setting.
In other words, here is a professional workflow to master the color grade:
Adobe Photoshop 2026: Camera Raw Filter 18.2.2,
1. The Foundation: Calibration & Basic Panel:
Therefore, before you touch the creative colors, you must ensure the “math” of the image is correct.
Calibration Panel: In other words, scroll to the bottom first. Adjusting the Blue Primary Saturation can often make skin tones pop and skies deeper in a way that the Basic panel cannot.
White Balance: Therefore, ensure your neutrals are actually neutral. A professional grade usually starts from a clean slate.
Dehaze & Texture: In other words, use these sparingly. High-end edits often favor a softer, more organic roll-off rather than crunchy, over-sharpened details.
2. The Color Mixer (HSL)
However, this is where you refine specific elements.
Hue: For instance, Shift Greens toward Yellow for a “vintage” feel, or Oranges toward Red to enrich skin tones.
Saturation: However, instead of global saturation, pull down specific distracting colors (like neon greens in grass) to keep the focus on the subject.
Luminance: For instance, increasing the luminance of the Orange channel is a classic trick to make skin appear to “glow” from within.
3. The Color Grading Panel (The “Cinematic” Secret)
Above all, this panel replaces the old Split Toning and is the heart of professional grading. It allows you to apply different hues to Shadows, Midtones, and Highlights.
Adobe Photoshop 2026: Camera Raw Filter 18.2.2,
| Zone | Common Professional Strategy |
| Shadows | Above all, apply a warm tint (Gold or Soft Orange) to simulate sunlight or “clean” whites. |
| Midtones | Keep these neutral or slightly warm to maintain natural skin tones. |
| Highlights | Above all, Apply a warm tint (Gold or Soft Orange) to simulate sunlight or “clean” whites. |
| Blending/Balance | Use the Balance slider to determine if the shadows or highlights dominate the grade. |
4. Curves: The “Matte” Look:
Above all, to get that high-end, non-digital look, use the Point Curve:
Lift the Blacks: Create a point at the very bottom left of the RGB curve and drag it slightly up. This turns pure blacks into a soft charcoal grey.
S-Curve: Create a subtle “S” shape to add contrast without losing the “matte” shadows you just created.
Adobe Photoshop 2026: Camera Raw Filter 18.2.2,
Pro Tip: Non-Destructive Workflow:
After that, to keep your edit flexible, always convert your layer to a Smart Object (Right Click Layer > Convert to Smart Object) before opening the Camera Raw Filter. This allows you to double-click the filter in the Layers panel and tweak your color grade at any time without losing image quality.
Would you like me to walk through a specific “look,” such as a Dark Moody aesthetic or a Bright & Airy wedding style?
