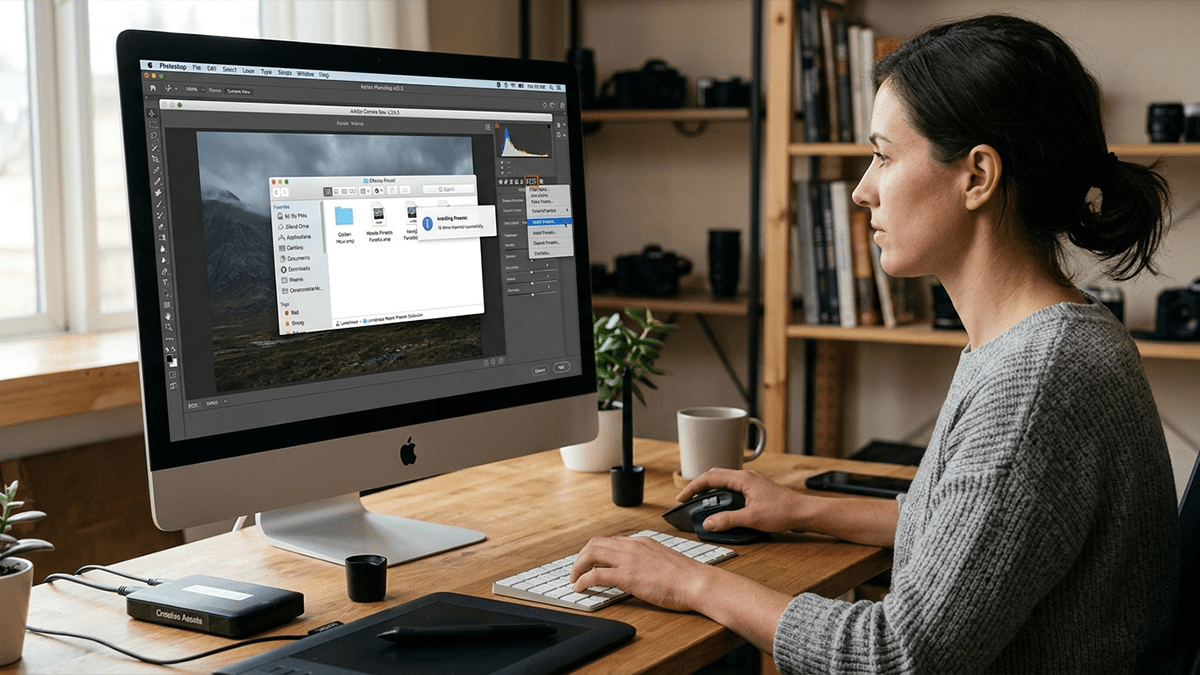
Install Adobe Photoshop Camera Raw Presets 2026,

Therefore, You can install presets in Photoshop Camera Raw using two main methods: importing directly through the Camera Raw interface or manually placing the files into the designated settings folder. The modern standard format for these presets is.XMP.
Install Adobe Photoshop Camera Raw Presets 2026,
Method 1: Import Directly via Camera Raw (Recommended)
Therefore, This is the easiest method and allows you to import preset files directly while working in Photoshop.
Open an Image in Camera Raw: Open any image (preferably a RAW file) in Photoshop. If it doesn’t open automatically in Camera Raw, go to the top menu and select Filter > Camera Raw Filter….
Navigate to Presets: In the Camera Raw dialogue box, locate the toolbar on the right side. Click the Presets icon (it looks like two overlapping circles).
Open the Options Menu: In the Presets panel, click the three-dot “More” icon (...) located in the upper right corner.
Import Presets: Select Import Profiles & Presets… from the dropdown menu.
Select Files: A file dialogue box will appear. Navigate to where you have saved your downloaded presets.
Therefore, You can select the individual.XMP files.
In other words, Many providers supply presets in a compressed format. You can often select the entire downloaded ZIP file, and Camera Raw will extract and install the presets from within it.
Confirm: Click Import. The presets are now installed and will appear under their respective groups in the Presets panel.
Install Adobe Photoshop Camera Raw Presets 2026,
Method 2: Manual Installation (XMP Files)
In other words, You can manually install presets by placing the XMP files directly into Adobe’s designated settings folder on your computer.
Windows Installation Path:
In other words, Open File Explorer and paste the following path into the address bar (replace [YourUsername] with your actual Windows username):C:\Users\[YourUsername]\AppData\Roaming\Adobe\CameraRaw\Settings. Note: The AppData folder is often hidden by default. If you cannot see it, you may need to adjust your folder view settings to “Show hidden files, folders, and drives.”
However, Copy your.XMP preset files (or folders containing them) and paste them directly into this Settings folder.
For instance, Restart Photoshop if it was open.
Install Adobe Photoshop Camera Raw Presets 2026,
macOS Installation Path:
However, Open Finder. Click Go in the top menu bar, then hold down the Option key on your keyboard. This will make the Library folder appear in the dropdown; click it.
For instance, Navigate through the following folders: Library / Application Support / Adobe / Camera Raw / Settings
Above all, Copy your XMP preset files (or folders containing them) and paste them directly into this Settings folder.
For instance, Restart Photoshop if it was open.
Alternative Method: Synced via Lightroom Desktop:
Above all, If you use the cloud-based Adobe Lightroom desktop application (not Lightroom Classic), presets installed there will automatically sync to Camera Raw in Photoshop as long as you are signed into the same Adobe Creative Cloud account.
In addition, Open the Lightroom (cloud) application.
Above all, Go to File > Import Develop Profiles & Presets.
In addition, Select your preset files or ZIP archive and click Import.
Above all, The presets will now be available in Lightroom and will sync to Camera Raw in Photoshop automatically.
Install Adobe Photoshop Camera Raw Presets 2026,
How to Use Installed Presets:
- Open an image in Camera Raw.
- Click the Presets icon on the right toolbar.
- Expand the group containing your desired preset.
- Click on the preset name to apply it to your image.
- You can use the Amount slider at the top of the Presets panel to adjust the intensity of the applied preset.
