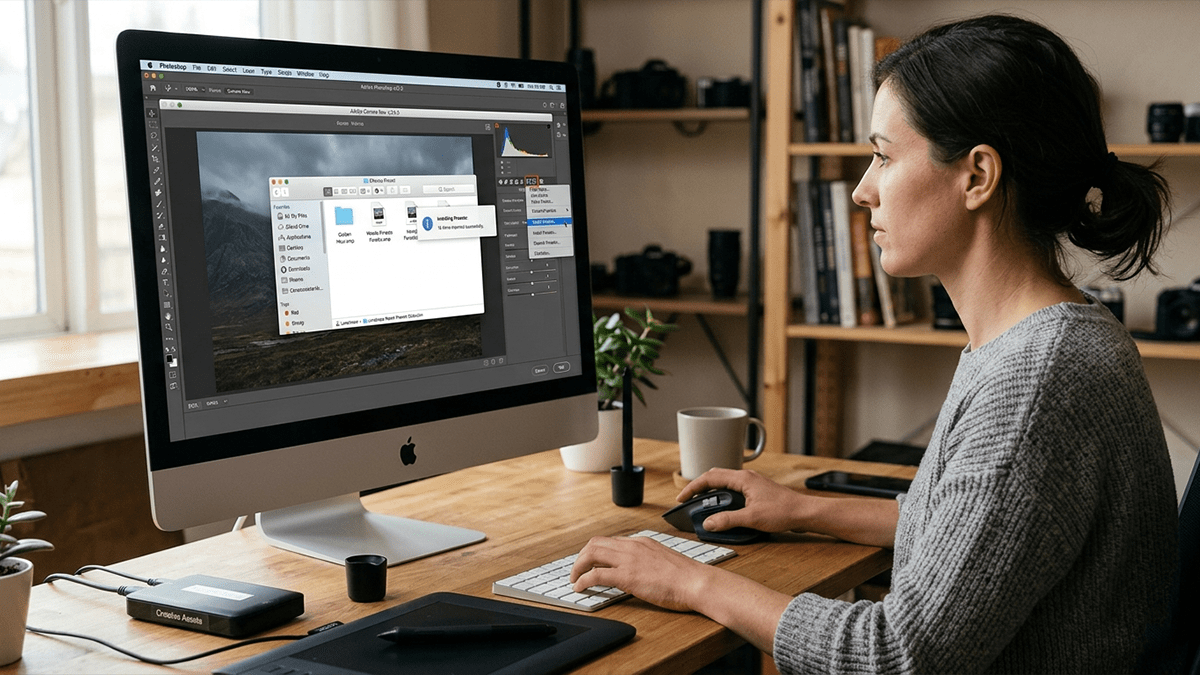
Installing Adobe Photoshop Presets Manual Process

Therefore, installing Adobe Camera Raw (ACR) presets manually is a straightforward process, but it requires copying the files into a specific, hidden system folder. Camera Raw presets use the .xmp file format.
In other words, here is the exact step-by-step process to get them installed and working.
Adobe Photoshop Presets Manual Process
Installation Steps:
Locate or extract your presets: Therefore a prerequisite.
If your presets arrived in a .zip file, right-click and extract/unzip them first. Above all, look for the folder containing the individual .xmp files.
Navigate to the Camera Raw folder: Therefore, System-dependent.
Open your file browser and copy/paste the appropriate path below depending on your operating system:
- Windows:
C:\Users\[YourUsername]\AppData\Roaming\Adobe\CameraRaw\Settings- Mac:
/Users/[YourUsername]/Library/Application Support/Adobe/CameraRaw/Settings
Installing Adobe Photoshop Presets Manual Process
Copy and paste the files: In other words, Organizing.
Copy the .xmp files (or the folder containing them) from Step 1 and paste them directly into this Settings folder.
Restart your Adobe software: In other words, the final step.
Close and reopen Photoshop, Bridge, or After Effects. For instance, open a raw image file to launch the Camera Raw interface; your new presets will appear under the Presets tab (the double-circle icon on the right toolbar).
Photoshop Presets Manual Process
Important Note for Mac Users: However, The
Libraryfolder is hidden by default. To access it, open Finder, click Go in the top menu bar, hold down the Option (Alt) key, and click Library when it appears in the dropdown menu.Important Note for Windows Users: For instance, The
AppDatafolder is also hidden. You can access it quickly by pressingWin + R, typing%appdata%\Adobe\CameraRaw\Settingsinto the Run box, and pressing Enter.
