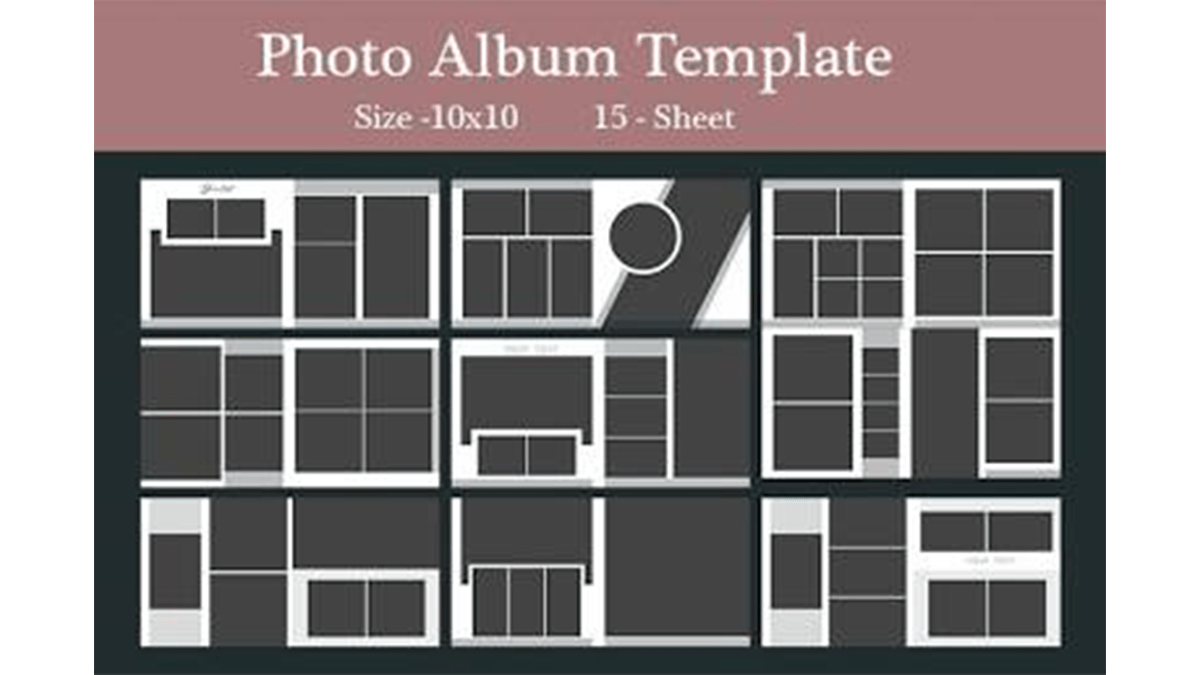
Designing a Wedding Album in Adobe Photoshop 2026,

Therefore, Designing a wedding album in Photoshop is a beautiful way to tell a couple’s story, but it can quickly become overwhelming without a structured workflow.
In other words, Here is a step-by-step guide to designing a professional, clean, and cohesive wedding album.
Designing a Wedding Album in Adobe Photoshop 2026,
Step 1: Prep and Organize Your Assets:
Therefore, Before you even open Photoshop, you need to curate your images. Trying to design with 800 unedited photos will stall your progress.
- The Selection (Culling): Narrow the photos down to the absolute best. A standard album has about 20 to 30 spreads (40 to 60 pages), which usually accommodates 70–100 images.
- Group by Chronology/Theme: Group photos into “chapters” (e.g., Getting Ready, Ceremony, Portraits, Reception).
- Edit First: Ensure all photos have consistent color grading and exposure before importing them into your layout.
Method 2: Get the Specifications from Your Printer:
Do not skip this step. Every professional print lab (like Miller’s, Artifact Uprising, or Graphistudio) has specific template requirements.
Find the Dimensions: Therefore, Are you designing a $10 \times 10$ inch or a $12 \times 12$ inch album?
Understand “Spreads” vs. “Pages”: A spread is two pages side-by-side when the album is open. It is highly recommended to design in full spreads. For a $10 \times 10$ album, your canvas size will actually be $20 \times 10$ inches.
Account for Bleed and Cut Lines: Labs require an extra fraction of an inch around the border (bleed) to ensure no important details get cut off during binding.
Designing a Wedding Album in Adobe Photoshop 2026,
Step 3: Set Up Your Photoshop Canvas:
Therefore, Once you have the exact dimensions from your lab, create your master template.
In other words, Go to File > New.
However, Set your Width and Height to match a full spread (e.g., Width: 20 inches, Height: 10 inches).
In other words, Set the Resolution to 300 Pixels/Inch (the standard for high-quality print).
However, Set the Color Mode to RGB Color (8-bit)—most labs prefer sRGB, though some accept Adobe RGB.
Set Your Center Guide: Go to View > New Guide, select Vertical, and type 50%. This marks the gutter (where the album folds). Keep faces and critical details away from this line!
Method 4: Design the Layouts (The “Less is More” Rule)
However, Modern wedding albums lean toward a clean, editorial, minimalist aesthetic. Avoid cheesy 2000s trends like overlapping faded background images or heavy drop shadows.
Designing a Wedding Album in Adobe Photoshop 2026,
The Blueprint for a Great Spread:
The Hero Image: In other words, Dedicate one full page of the spread to a single, high-impact photo (like a stunning couple portrait).
The Supporting Cast: However, On the opposite page, place 2 to 4 smaller, complementary images that tell a micro-story (e.g., close-ups of the dress details, rings, or a sequence of emotional reactions).
White Space is Your Friend: However, Leave breathing room around your images. It makes the album look expensive and elegant.
Pro-Tips for Efficient Designing:
Use Frame Tools / Shape Tool: In other words, Draw rectangles where you want your photos to go. You can then import your photo, place it above the shape layer, right-click the photo layer, and select Create Clipping Mask. This crops your photo perfectly into the shape without destroying the original image.
Align Everything: However, Use the Align tools in the top toolbar to ensure your image borders line up perfectly. Consistency in spacing (margins) keeps the album looking polished.
Designing a Wedding Album in Adobe Photoshop 2026,
Step 5: Export for Print:
Similarly, Once all your spreads are finished, it’s time to prep them for the printer.
- Double-Check: Scan every spread for alignment errors, stray marks, or heads cut off by the center gutter.
- Save a Master PSD: Keep your layered Photoshop files (
.psd) just in case the client requests last-minute changes.- Export to JPEG: Go to File > Save As (or Export As) and save the files as high-quality JPEGs.
- Naming Convention: Name your files sequentially so the lab knows the exact order (e.g.,
Spread_01.jpg,Spread_02.jpg,Spread_03.jpg).
💡 Time-Saving Alternative: If you find yourself designing albums frequently, consider using Photoshop plugins like Album DS or standalone software like SmartAlbums or Fundy Designer. They allow you to drag-and-drop templates instantly but export directly to Photoshop layers for final touch-ups.
In conclusion, What style of wedding album are you aiming for—something very classic and minimalist, or are you looking to incorporate text and specific design elements?
