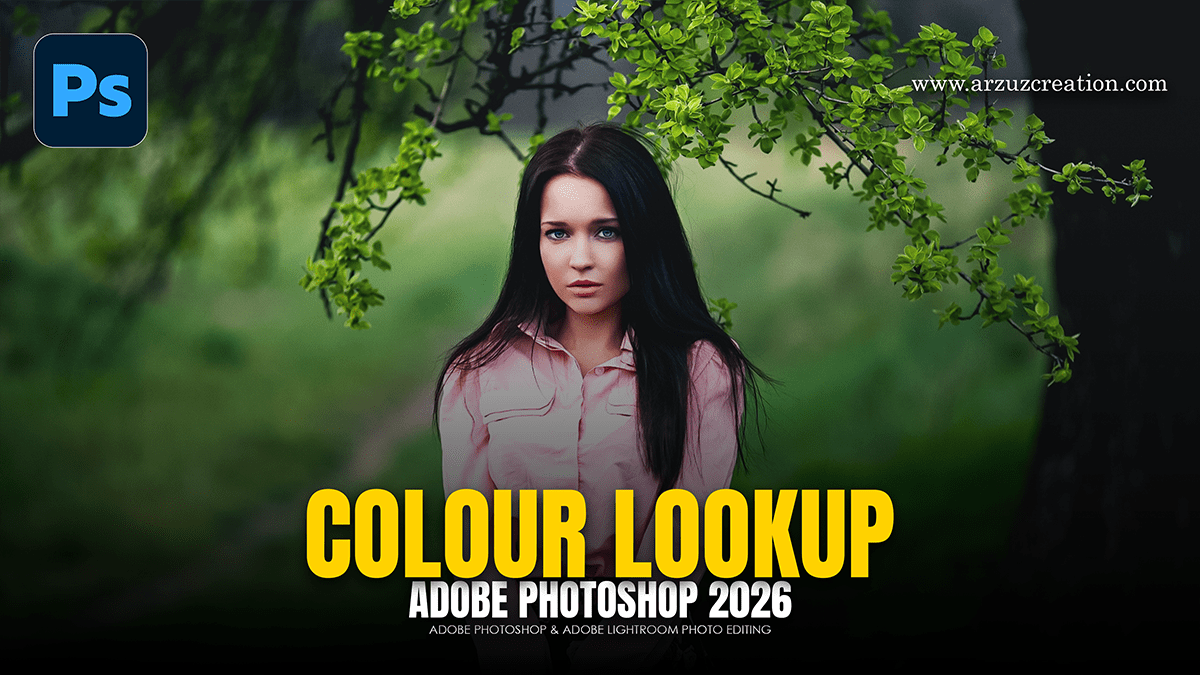
Adobe Photoshop 2026 Colour Lookup Table Photo Editing

Therefore, in Adobe Photoshop 2026, Color Lookup Tables (LUTs) remain one of the most powerful ways to achieve professional color grading with a single click. While the core “Color Lookup” tool is a classic feature, the 2026 update introduces new AI-driven adjustment layers that complement LUT workflows perfectly.
Adobe Photoshop 2026 Colour Lookup Table Photo Editing
In other words, here is a guide on how to use LUTs in the 2026 version to transform your photos.
1. How to Apply a LUT in Photoshop 2026
Therefore, LUTs work by remapping the original colors of your image into a new color space defined by the table.
Add the Adjustment Layer: Therefore, go to the Adjustments panel and click the Color Lookup icon (looks like a grid). Alternatively, go to Layer > New Adjustment Layer > Color Lookup.
Choose a Category: In the Properties panel, you will see three categories:
3DLUT File: Therefore, the most common category contains cinematic presets like Crisp_Warm, FoggyNight, and Teal/Orange.
Abstract: Used for more artistic, non-realistic color shifts.
Device Link: Therefore, Mostly used for matching specific output devices or film stocks.
Select a Preset: Click the dropdown menu and select a look. The changes are non-destructive, meaning you can toggle them on and off.
Adobe Photoshop 2026 Colour Lookup Table Photo Editing
2. New in 2026: “Color and Vibrance” Enhancement
Therefore, one of the biggest updates in the 2026 release is the Color and Vibrance adjustment layer. This is a game-changer for LUT users because it now includes Temperature and Tint sliders directly in the main interface.
Pro Tip: Therefore, always use the new Color and Vibrance layer before your Color Lookup layer. Fixing the white balance (Temperature/Tint) first ensures that the LUT applies consistently and doesn’t look “muddy.”
3. Advanced Editing Techniques
Therefore, simply applying a LUT at 100% can often look too intense. Try these refinements:
| Technique | How to do it | Result |
| Lower Opacity | Change the layer opacity to 30–60%. | Creates a more natural, subtle “film” look. |
| Blend Modes | Change from Normal to Soft Light or Overlay. | Boosts contrast while applying the color grade. |
| Layer Masking | Use a soft black brush on the LUT’s mask. | Keeps the effect away from faces or specific objects. |
| Harmonize (AI) | Use the new Harmonize tool (in Neural Filters). | Automatically matches colors between a subject and a LUT-graded background. |
Adobe Photoshop 2026 Colour Lookup Table Photo Editing
4. Exporting Your Own LUTs
Therefore, if you create a series of adjustments (Curves, Color Balance, Selective Color) that you love, you can save them as your own custom LUT.
Therefore, make sure your image has a Background layer, and your adjustment layers are on top.
Go to File > Export > Color Lookup Tables...
Similarly, Choose the.CUBE format (the industry standard).
Therefore, you can now load this LUT into other photos or even video editing software like Premiere Pro.
Would you like me to recommend some specific LUT styles for a certain type of photography, such as portraits or landscapes?
