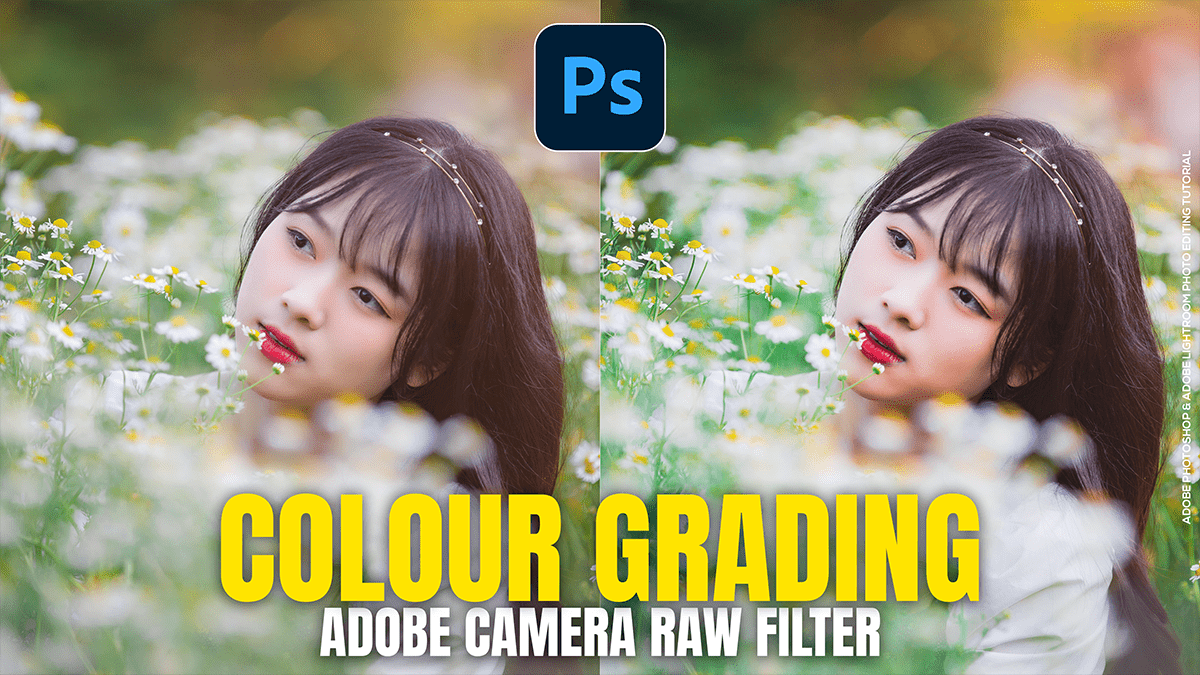
Colour Grading in Adobe Camera Raw Filter 18.1.1,
Therefore, Color grading in Adobe Camera Raw (ACR) is a powerful way to transform the mood of your photos. While “color correction” fixes the white balance and exposure, “color grading” is where you add your creative style.
Colour Grading in Adobe Camera Raw Filter 18.1.1,

In other words, here is a step-by-step tutorial on how to achieve a professional look using the latest ACR tools.
1. The Foundation: Color Correction:
Therefore, before grading, your image needs to be “neutral.”
- White Balance: Therefore usee the Eyedropper tool on a neutral gray or white area to remove color casts.
- Basic Panel: In other words, Adjust Exposure and Contrast. Keep your histogram balanced so you don’t lose detail in the shadows or highlights before you start adding color.
- Pro Tip: Therefore, convert your layer to a Smart Object in Photoshop first (
Right-click layer > Convert to Smart Object). This allows you to go back and change your grade at any time without damaging the original image.
2. The Color Grading Panel (The 3 Wheels)
Therefore, this is the heart of the process. It allows you to apply different colors to the Shadows, Midtones, and Highlights independently.
| Target | Common Usage | Creative Tip |
| Shadows | Add Teal or Deep Blue | Darker shadows with a cool tint create a cinematic, “moody” vibe. |
| Highlights | Add Orange or Yellow | Warm highlights mimic sunlight or golden hour glow. |
| Midtones | Keep neutral or shift slightly | Adjusting midtones affects skin tones the most. Be gentle here. |
Colour Grading in Adobe Camera Raw Filter 18.1.1,
- Blending Slider: In other words, move this to the right (100) for a smooth transition between colors, or left for a more distinct, “split-tone” look.
- Balance Slider: If your image feels too “blue,” slide this toward the highlights to let the warm tones take over more of the image.
3. Refining with the Color Mixer (HSL)
In other words, The Color Mixer (formerly HSL) lets you target specific colors.
- Hue: Shift “Green” toward “Yellow” for a fall vibe, or “Blue” toward “Teal” for a tropical look.
- Saturation: However, Desaturate specific colors (like greens or magentas) to make the image look more sophisticated and less “digital.”
- Luminance: Darken the “Blue” luminance to make skies look deeper and more dramatic.
4. The Secret Weapon: Point Color:
However, introduced in recent versions, the Point Color tool (inside the Color Mixer) is game-changing.
- Above all, use the Picker to select a very specific shade (like a specific part of a skin tone).
- Above all, you can then shift the Hue, Saturation, and Luminance of only that specific color range without affecting the rest of the image.
Colour Grading in Adobe Camera Raw Filter 18.1.1,
5. Finishing Touches:
However, to complete the “look,” go to the Effects and Calibration panels:
- Calibration: Shifting the “Blue Primary” Hue to the left is a secret trick used by many photographers to get that popular “orange and teal” look instantly.
- Grain: Add a small amount of grain (Amount: 15-20, Size: 25) to give the photo a film-like texture.
- Vignette: A subtle post-crop vignette helps draw the viewer’s eye to the center of your subject.
Would you like me to walk you through how to create a specific “look,” such as a Dark Cinematic or a Bright & Airy aesthetic?
