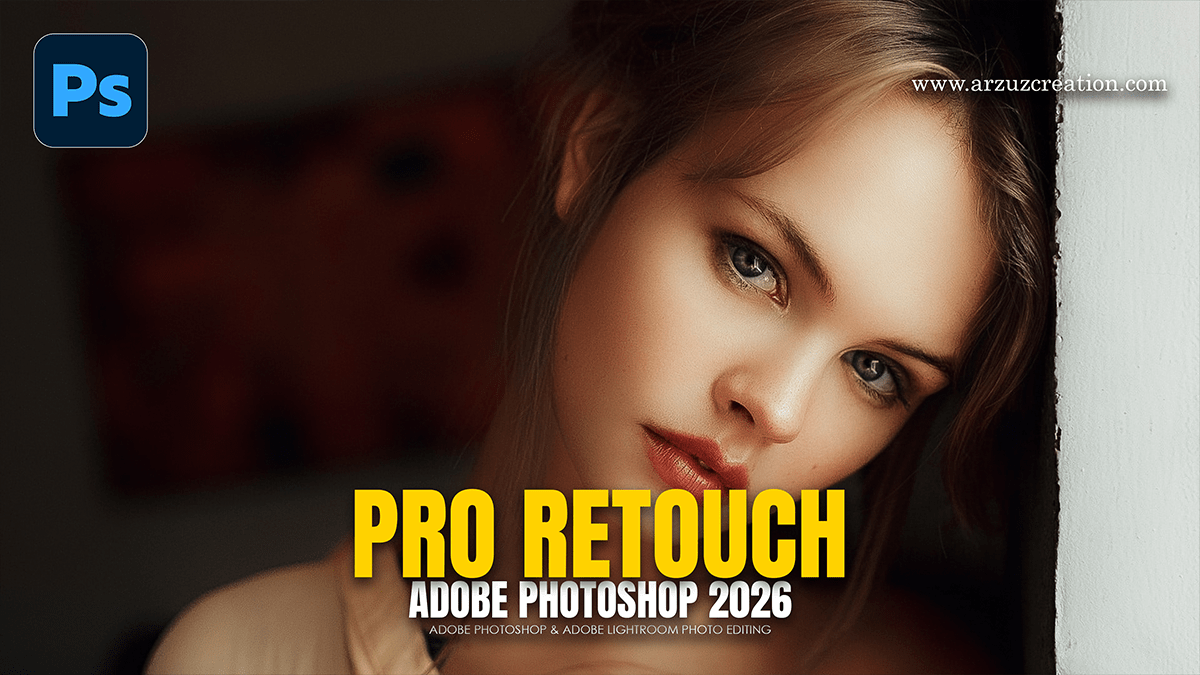
Professional Skin Retouching Tutorial: Adobe Photoshop 2026

Therefore, Professional skin retouching in Photoshop CC focuses on maintaining natural texture while evening out tones. High-end retouchers typically avoid “blur” filters, instead using techniques that separate detail from color.
In other words, here is the industry-standard workflow for a professional finish.
Professional Skin Retouching Tutorial: Adobe Photoshop 2026
1. Clean Up (Healing & Cloning)
Therefore, before using advanced techniques, remove temporary distractions (blemishes, stray hairs, or dust).
Tool: Spot Healing Brush or Healing Brush Tool.
Setting: In other words, create a New Blank Layer and set the tool to Sample All Layers.
Method: Click or draw over small imperfections. The Healing Brush is superior for larger areas, as it allows you to manually pick a source area by holding. Alt/Option.
Professional Skin Retouching Tutorial: Adobe Photoshop 2026
2. Frequency Separation:
Therefore, this is the “magic” of professional retouching. It splits the image into two layers: High Frequency (Texture/Pores) and Low Frequency (Color/Tone).
However, duplicate your background layer twice. Name the top one “High” and the middle one “Low.”
Low Frequency (Tone): Select the “Low” layer. Go to Filter > Blur > Gaussian Blur. Increase the radius until the skin texture just disappears, but the shapes/colors remain (usually 4–8px).
High Frequency (Texture): Select the “High” layer. Go to Image > Apply Image.
Layer: For instance, select the “Low” layer.
Blending: Subtract.
Scale: 2.
Offset: 128.
Blending Mode: For instance, change the “High” layer’s blend mode to Linear Light. The image should now look identical to the original.
Refine: However, use the Mixer Brush on the “Low” layer (Settings: Clean brush, Wet 20%, Load 20%, Mix 20%, Flow 20%) to smooth out blotchy colors without losing the texture on the layer above.
Professional Skin Retouching Tutorial: Adobe Photoshop 2026
3. Micro Dodge & Burn:
Above all, this technique is used for high-end “magazine” looks to even out transitions without touching the texture layers.
Setup: Create two Curves adjustment layers.
Dodge: Pull the center of the curve up to brighten. Invert the mask (Ctrl/Cmd + I).
Burn: Pull the center of the curve down to darken. Invert the mask.
Method: Above all, use a very small, soft Brush (1–3% Flow) with white color. Paint on the Dodge mask to lighten dark patches of skin and on the Burn mask to darken light patches. This levels out the “topography” of the skin perfectly.
Pro Tips for 2026:
Avoid Over-Smoothing: In addition, keep the “Opacity” of your Frequency Separation group around 70–80% to let some of the original skin character show through.
Check Layers: Create a Black & White adjustment layer at the top of your stack while Dodging and Burning. Removing color makes it much easier to see tonal inconsistencies.
16-Bit Mode: If your hardware allows, work in 16-bit (Image > Mode > 16 Bits/Channel) to prevent banding when making heavy tonal adjustments.
