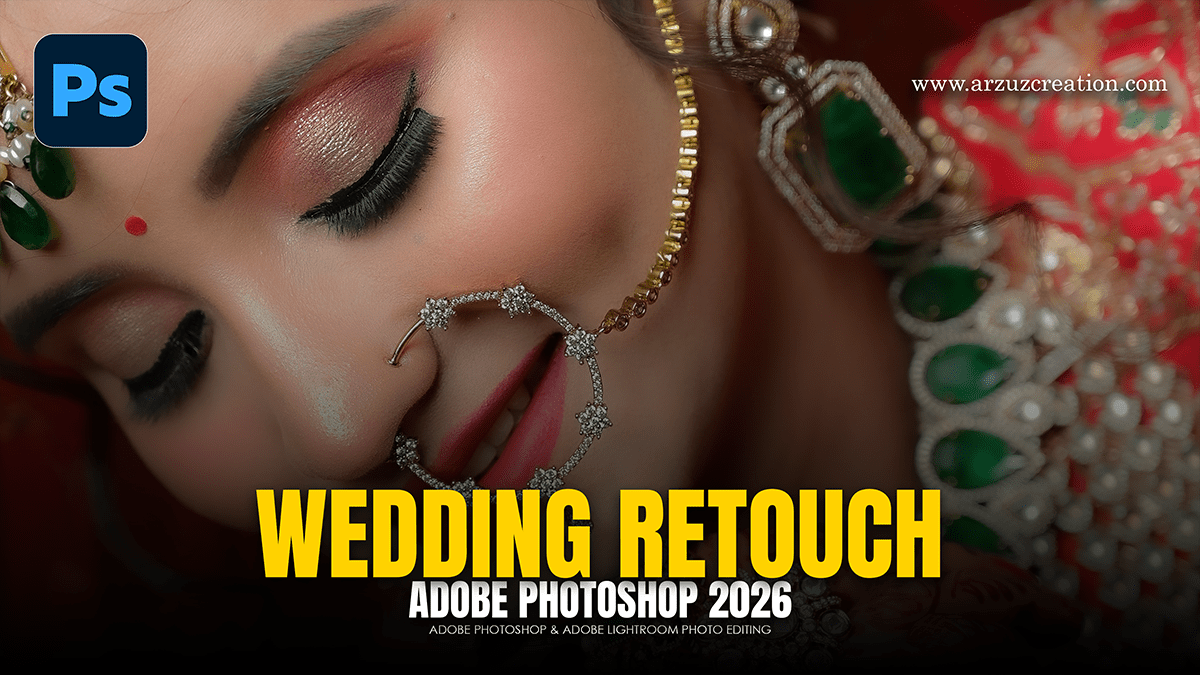
Wedding Retouching in Adobe Photoshop CC 2026 for Beginners,

Therefore, Wedding retouching in Photoshop CC (v27.x and above) has evolved significantly with the integration of Adobe Firefly and AI-powered Neural Filters. While high-volume batching is usually done in Lightroom, Photoshop is where you polish your “hero” shots—those centerpiece portraits for the album.
In other words, here is the professional workflow for 2026:
Wedding Retouching in Adobe Photoshop CC 2026 for Beginners,
1. The Cleanup (AI-Powered)
Therefore, instead of tedious cloning, use the latest AI tools to handle distractions instantly.
Remove Tool: Simply brush over unwanted guests in the background or stray hairs. The tool uses generative AI to fill the space with contextually accurate pixels.
Generative Fill: In other words, if the bride’s dress is cut off at the edge of the frame, use the Rectangular Marquee tool to select the empty area and click Generative Fill (leave the prompt blank) to extend the gown and background naturally.
2. Advanced Skin Retouching:
However, to avoid the “plastic” look, professionals use Frequency Separation. This splits the image into two layers:
Low Frequency (Color/Tone): In other words, smooth out blotchy skin or makeup using the Lasso Tool (with a high feather) and Gaussian Blur.
High Frequency (Texture): However, keep the pores and fine details. Use the Clone Stamp or Healing Brush here to remove specific blemishes without affecting the skin’s color.
Pro Tip: For instance, For a faster result, try Filter > Neural Filters > Skin Smoothing. Adjust the “Blur” and “Smoothness” sliders to taste, then mask it back in only where needed.
Wedding Retouching in Adobe Photoshop CC 2026 for Beginners,
3. Eyes, Teeth, and Smiles:
Whitening: For instance, use a Hue/Saturation adjustment layer, select “Yellows,” and drop the saturation while increasing the lightness. Mask it onto the teeth.
Eye Pop: After that, create a Curves layer, pull the middle up to brighten, and use a black mask. Paint white over the irises to make them “sparkle.”
Neural Filters (Smart Portrait): In addition, you can subtly adjust the “Eye Direction” if the subject was looking slightly away, or add a hint of a “Beaming” smile if the expression was too stiff.
4. Color Grading and “The Vibe.”
Color Balance/Selective Color: Above all, add warmth to the highlights (Yellow/Red) and a touch of cool blue or teal to the shadows for a cinematic look.
Clarity & Dehaze Adjustment Layers: In addition, New in the 2026 update, these are now dedicated non-destructive layers. Use them to add “punch” to the groom’s suit or the details of the floral arrangements.
Grain: Above all, use the Grain Adjustment Layer to add a subtle film texture, which helps hide any artifacts from heavy retouching and gives a timeless feel.
Wedding Retouching in Adobe Photoshop CC 2026 for Beginners,
5. Finishing Touches:
Dodge and Burn: Above all, use two separate Curves layers (one bright, one dark) to manually contour the face and dress. This adds three-dimensional depth that “flattens” out during standard exposure fixes.
Export: Similarly, always export as sRGB for web galleries to ensure the colors look consistent across phones and laptops.
Recommended Tools Comparison (2026)
| Tool | Best For | Why Use It? |
| Remove Tool | Blemishes/Distractions | Smarter than Clone Stamp; faster. |
| Frequency Separation | High-end Portraits | Preserves skin texture perfectly. |
| Generative Fill | Background/Frame Fixes | Can “fix” a bad crop or missing details. |
| Neural Filters | Quick Enhancements | Great for skin smoothing and expressions. |
