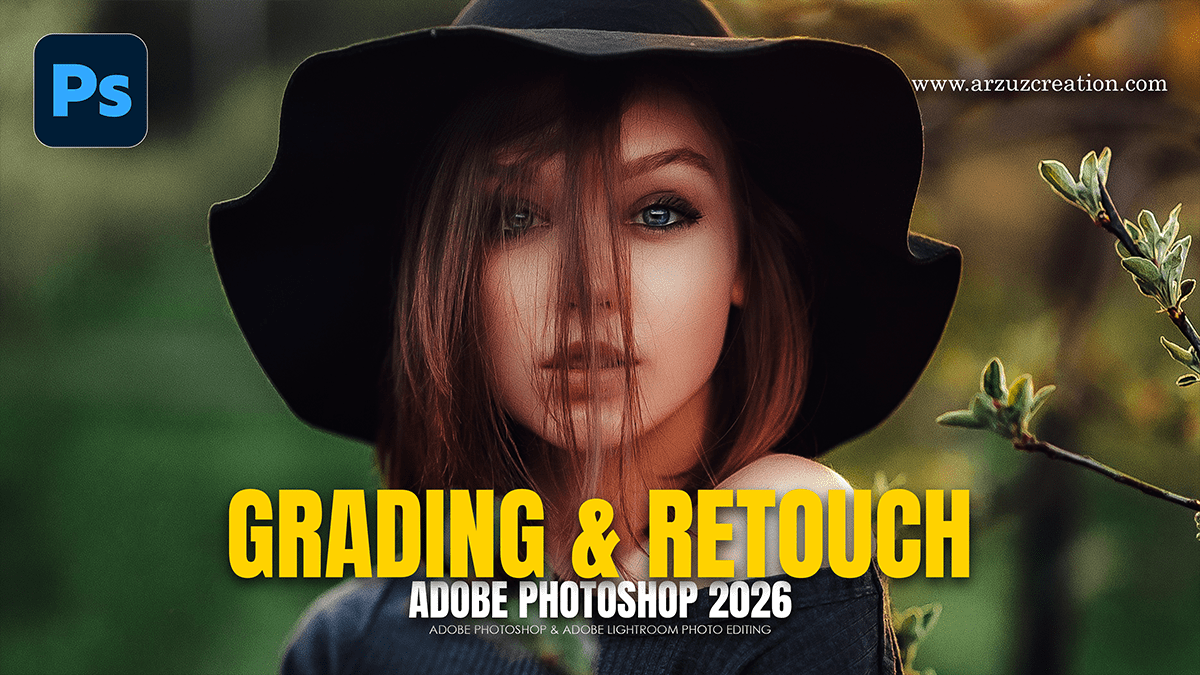
Photoshop Portrait Grading and Retouching Tutorial for Beginners,

Therefore, achieving professional results for outdoor portraits in Photoshop requires a balance between correcting lighting inconsistencies and enhancing the natural environment. Below is a structured workflow to guide you through the process.
Photoshop Portrait Grading and Retouching Tutorial for Beginners,
1. Preparatory Raw Adjustments:
Therefore, before opening the image in the main Photoshop workspace, use Camera Raw to establish a clean slate.
White Balance: In other words, neutralize any color casts from sunlight or shadows.
Highlights/Shadows: However, recover detail in blown-out skies and lift shadows on the face to ensure even lighting.
Lens Corrections: In other words, enable profile corrections to remove vignetting and distortion.
2. Professional Skin Retouching:
Therefore, for high-end results, avoid global blurring. Use Frequency Separation to treat texture and color independently.
Photoshop Portrait Grading and Retouching Tutorial for Beginners,
Frequency Separation Setup:
Low Frequency (Color/Tones): In other words, apply a Gaussian Blur just until the skin texture disappears.
High Frequency (Texture): However, use a High Pass filter or “Apply Image” (with Linear Light blend mode) to extract fine details like pores and hairs.
Refinement Techniques:
Healing Brush: Use on the High Frequency layer to remove temporary blemishes while preserving skin grain.
Mixer Brush: However, use on the Low Frequency layer with low “Flow” settings to smooth out blotchy skin tones and transitions.
Dodge and Burn: Create two Curves adjustment layers (one bright, one dark). Use a soft brush with 1–2% opacity to manually contour the face and even out transitions.
3. Professional Colour Grading:
However, Outdoor lighting often introduces competing colors (e.g., green bounce from grass). Grading harmonizes these elements.
Photoshop Portrait Grading and Retouching Tutorial for Beginners,
Global Harmonization:
| Tool | Purpose |
| Selective Color | Target “Reds” and “Yellows” to refine skin undertones; target “Cyans” or “Blues” for the sky. |
| Color Balance | Add warmth (Yellow/Red) to highlights for a “Golden Hour” look, or subtle Cyans/Blues to shadows for cinematic contrast. |
| Curves (RGB Channels) | For instance, Manually adjust the Red, Green, and Blue curves to create a signature “crushed” or “faded” look. |
The “Pop” Effect:
For instance, to separate the subject from the background:
Subject Masking: Use the Select Subject tool to slightly increase the exposure or saturation of the person while cooling down or darkening the background.
Photoshop Portrait Grading and Retouching Tutorial for Beginners,
4. Final Enhancements:
Global Sharpening: Above all, use a High Pass filter (around 1.2px) on a stamped layer (Ctrl+Alt+Shift+E) set to “Overlay” to crisp up the eyes and hair.
Grain: Adding a subtle 2–3% monochromatic grain can help “glue” the retouching together, making it look like a physical photograph rather than a digital edit.
Pro Tip: Always work with a non-destructive workflow. Use Adjustment Layers and Smart Objects so you can revisit and tweak individual settings as your eyes adjust to the edit.
