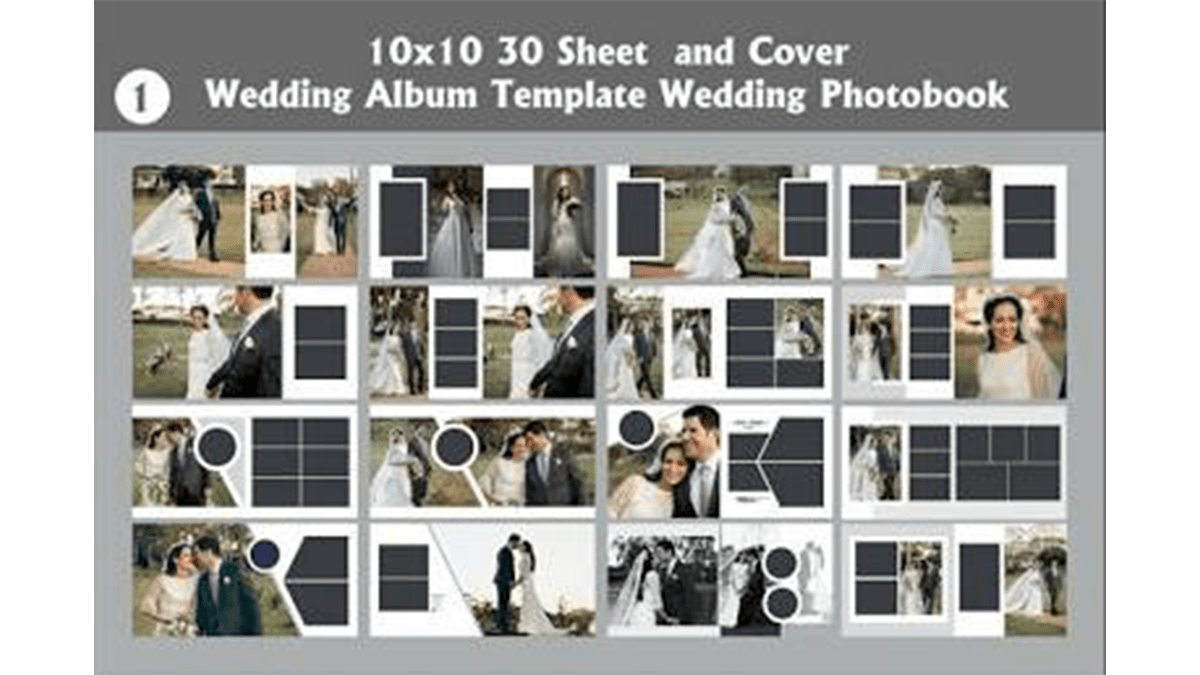
Design a Wedding Photo Album in Adobe Photoshop 2026,

Therefore, designing a wedding album in Photoshop is all about working in spreads (two facing pages side-by-side) rather than single pages. This approach allows you to treat each layout like a cohesive story.
In other words, Modern wedding album design relies on clean, intentional layouts over heavily stylized effects. Letting your photos breathe with a solid grid and plenty of whitespace will create a timeless look.
Design a Wedding Photo Album in Adobe Photoshop 2026,
Step-by-Step Workflow:
- Get Print Specifications: Crucial First Step.
Therefore, before opening Photoshop, check your print lab’s exact specifications. A standard 10×10-inch album prints as a 20×10-inch spread. Take note of their required bleed (the extra edge area cut off during binding, usually an extra 0.25 inches) and safe zones.
2. Create the Master Document: Set up the workspace.
Therefore, Go to File > New. For a 10×10 album spread with bleed, set the width to 20.25 inches, height to 10.25 inches, and resolution to 300 Pixels/Inch. Set the Color Mode to CMYK or sRGB, depending on your print lab’s specifications.
3. Set Up Your Guides: Protect your margins.
In other words, Press Ctrl + R (Windows) or Cmd + R (Mac) to show rulers.
Therefore, drag a vertical guide exactly to the center (10.125 inches)—this represents the gutter where the pages fold.
In other words, Drag guides 0.25 inches from all outer edges to mark your bleed line. Keep crucial details (like faces or text) at least 0.5 inches away from the gutter and edges.
Design a Wedding Photo Album in Adobe Photoshop 2026,
4. In other words, Create Photo Placeholders: Build the grid.
However, Select the Rectangle Tool (U). Draw boxes where you want your images to live. Rename these layers clearly (e.g., “Left Photo 1”, “Right Large Photo”). This forms your digital layout framework.
5. Insert Images via Clipping Masks: Non-destructive placement.
However, go to File > Place Embedded and select your wedding photo. Move this photo layer directly above your placeholder rectangle layer in the Layers panel. Right-click the photo layer and select Create Clipping Mask. The photo will snap perfectly inside the rectangle. Press Ctrl + T (Cmd + T) to scale and position it without losing the box shape.
Design a Wedding Photo Album in Adobe Photoshop 2026,
3 Pro-Tips for a Better Design
Group by Chronology & Mood: However, keep your spreads thematic. Don’t mix getting-ready photos with reception dancing. Dedicate an entire spread to a single moment (e.g., the first look, sunset portraits).
Vary Your Layout Scale: If one spread features a busy multi-photo grid of family portraits, make the next spread incredibly simple—perhaps just one striking hero image on the right page and whitespace on the left. This creates a pleasing visual rhythm as you flip through.
Maintain Consistent Spacing: Use the same gap distance between photos throughout the entire album. If you choose a 0.25-inch gap between images on page one, stick to it until the final page.
