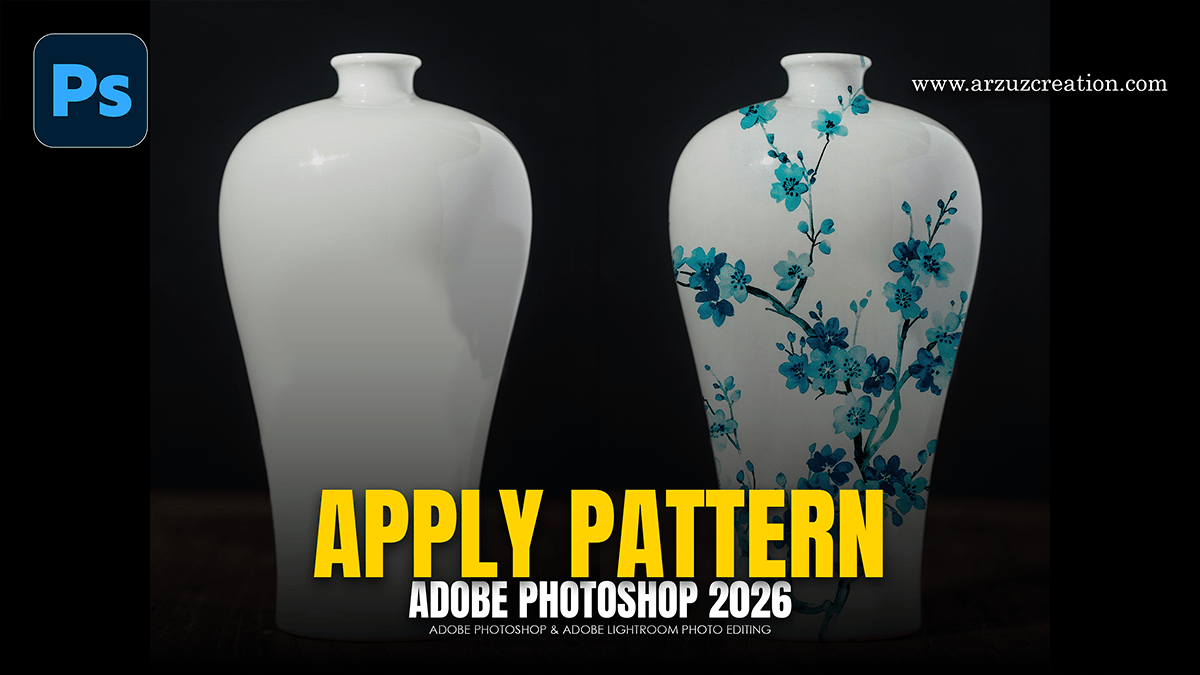
Apply Photoshop Pattern Design Tutorial 2026 (for Beginners)

Therefore, applying a design to an object in Photoshop CC requires making the graphic look like it is actually part of the surface—wrapping around curves and adopting the underlying texture.
In other words, the most effective and flexible way to do this is by using Smart Objects and Displacement Maps.
Apply Photoshop Pattern Design Tutorial 2026 (for Beginners),
1. Prepare the Surface (Displacement Map)
Therefore, A Displacement Map tells Photoshop how to “push” and “pull” your design based on the highlights and shadows of the subject.
In other words, open your subject image (e.g., a t-shirt or a mug).
Therefore, Go to Image > Adjustments > Desaturate (Shift + Ctrl + U).
In other words, apply a slight blur (Filter > Blur > Gaussian Blur) of about 1–3 pixels to smooth out grain.
Therefore, increase contrast with Levels (Ctrl + L) so the shadows and highlights are distinct.
Save as a .PSD file named “Displacement_Map.psd”.
However, Undo (Ctrl + Z) until your original subject image is back to normal.
2. Place Your Design:
After that, go to File > Place Embedded and select your design.
In addition, right-click the design layer in the Layers panel and select Convert to Smart Object. This allows you to edit the design later without losing quality.
After that, position the design roughly where you want it.
Apply Photoshop Pattern Design Tutorial 2026 (for Beginners),
3. Apply the Displacement:
However, this is where the design begins to wrap around the contours.
For instance, with the design layer selected, go to Filter > Distort > Displace.
However, Set Horizontal and Vertical Scale (try 10 for most subjects; higher numbers for deep folds).
For instance, click OK, then select the “Displacement_Map.psd” file you created earlier.
You will see the edges of your design shift to match the subject’s texture.
4. Blend the Design:
Above all, to make the design look printed into the fabric rather than floating on top, you need to adjust the Blending Options.
For instance, change the design layer’s Blend Mode to Multiply (for light subjects) or Linear Burn.
Above all, Double-click the design layer to open the Layer Style window.
For instance, go to the Underlying Layer slider at the bottom.
Above all, hold Alt/Option and click-drag the white triangle to split it.
In addition, slide the right half of that triangle to the left. This allows the highlights of the subject to “shine through” the design.
Apply Photoshop Pattern Design Tutorial 2026 (for Beginners),
5. Final Adjustments:
Warp Tool: If the subject has extreme perspective, go to Edit > Transform > Warp to manually pull the corners of the design into place.
Opacity: Lower the layer opacity slightly (to around 90%) to give it a more natural, faded look.
In conclusion, does the subject you’re working with have a particularly complex texture, like a knit sweater or a wrinkled flag?
