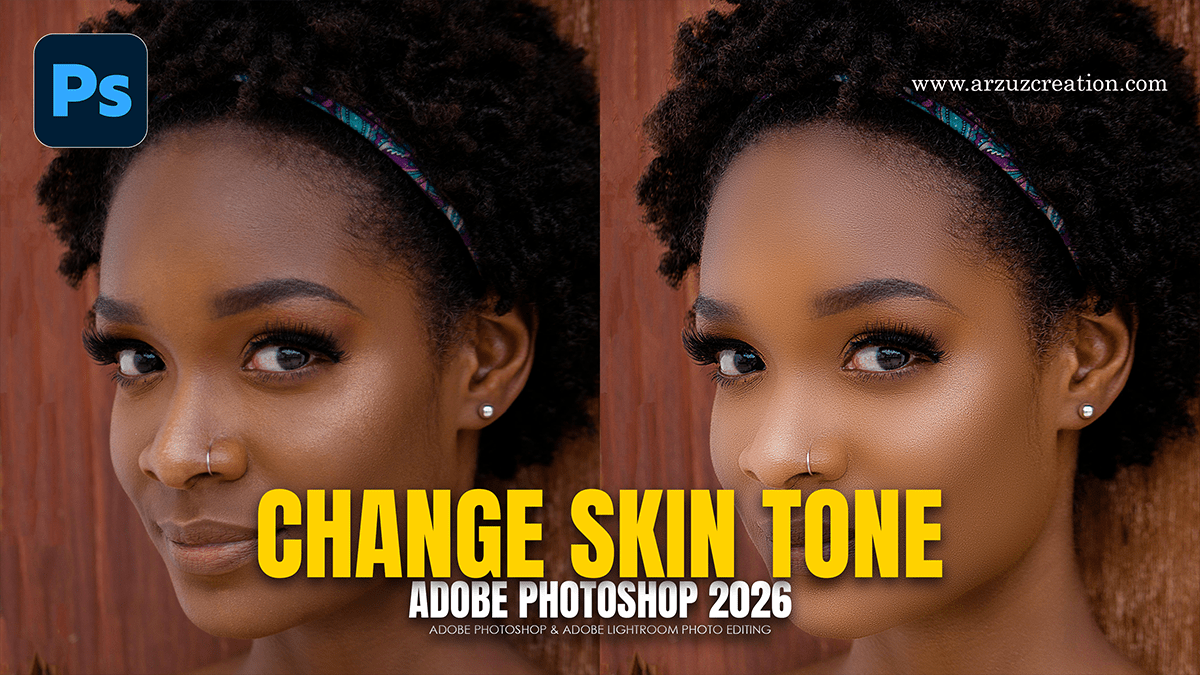
How to Change Skin Tones in Photoshop CC 2026,

Therefore, changing skin tones in Photoshop CC requires a delicate touch to maintain natural texture and lighting. In other words, the most effective way to achieve a significant shift while preserving skin details is by using Adjustment Layers and Masking.
In other words, here is a professional workflow to adjust skin tones:
How to Change Skin Tones in Photoshop CC 2026,
1. Select the Skin:
Therefore, before making any color changes, you need a precise selection to ensure you don’t affect the background or clothing.
In other words, go to Select > Color Range.
However, choose Skin Tones from the dropdown menu and check the Detect Faces box.
In other words, use the eyedropper tools to refine the selection, then click OK.
However, with the selection active, click the Layer Mask icon at the bottom of the Layers panel.
2. Adjust Values with Curves:
Therefore, this is the most important step for lightening the skin without making it look “washed out.”
However, create a Curves adjustment layer.
For instance, clip it to your skin mask (Alt/Option + Click between the layers).
However, lift the middle of the RGB line upward to brighten the midtones.
Pro Tip: Avoid pulling the “Whites” (top right corner) too far to the left, as this will blow out the highlights and destroy skin texture.
How to Change Skin Tones in Photoshop CC 2026,
3. Correct the Color Balance:
For instance, lighting darker skin tones often results in an unnatural grey or “ashy” tint. You need to add warmth back in.
For instance, create a Color Balance adjustment layer.
Above all, In Midtones, add a small amount of Red and Yellow.
Above all, in Highlights, add a touch of Yellow to mimic how light hits paler skin.
4. Manage Saturation:
In addition, as you brighten the skin, the colors may become overly intense.
Above all, add a Hue/Saturation adjustment layer.
In addition, drop the Saturation slider slightly (usually between -5 and 15).
Above all, if the skin looks too red, select the “Reds” channel in the dropdown and shift the Hue slightly toward the right (yellow).
How to Change Skin Tones in Photoshop CC 2026,
Key Tips for Realism:
Keep the Shadows: In addition, do not attempt to make the shadows white. Real skin has depth; the darkest areas of the face should remain relatively dark to maintain 3D shape.
Texture Preservation: If the skin looks too smooth after brightening, you can add a new layer, fill it with 50% Grey, go to Filter > Noise > Add Noise (1-2%), and set the blend mode to Overlay at a very low opacity.
Check the Edges: Use a soft black brush on your Layer Mask to blur the transitions around the hairline and jawline so the color shift doesn’t look like a mask.
